One of the most popular national parks in Rwanda is Volcanoes National Park. There are a number of different activities in the park including tracking gorillas or golden monkeys, visiting caves, climbing volcanoes, and more. In May 2019, I joined two friends to complete the challenging yet rewarding hike up Mount Bisoke, an active volcano. This guide will provide you with all you need to know to hike Mount Bisoke.
Step 1: Buy Permit Online
In order to hike up Mt. Bisoke, one requires a permit that costs $75 USD. It can be ordered here. If you have the flexibility, try to choose a day that is not rainy.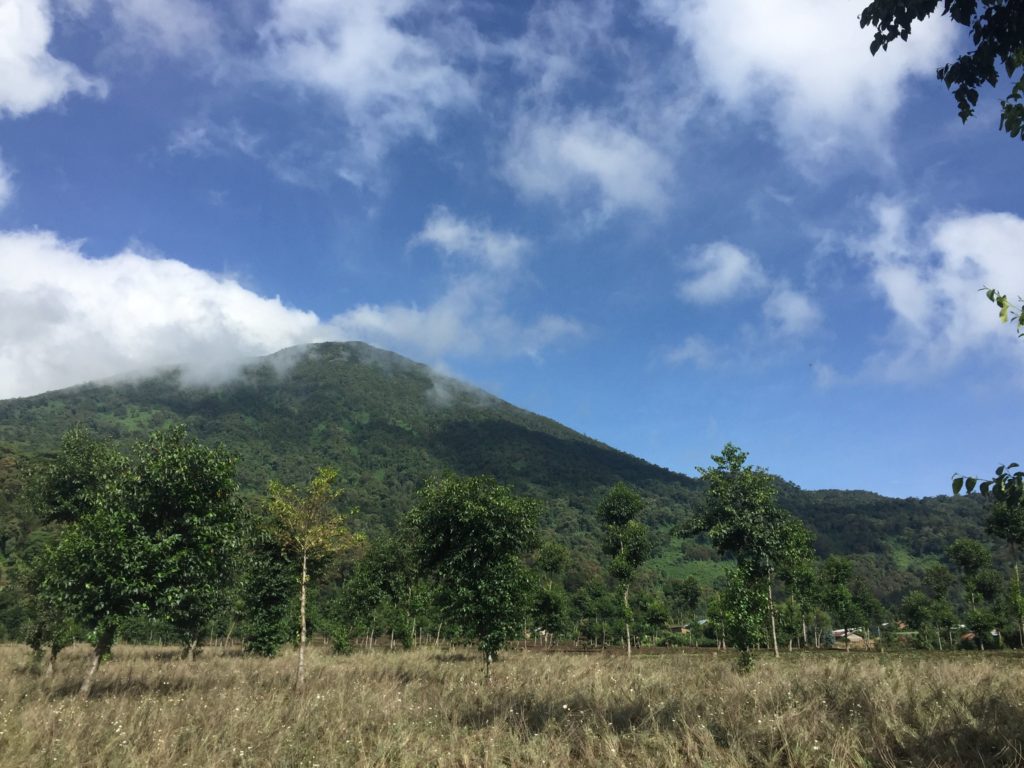
Step 2: Hire a 4×4 Vehicle
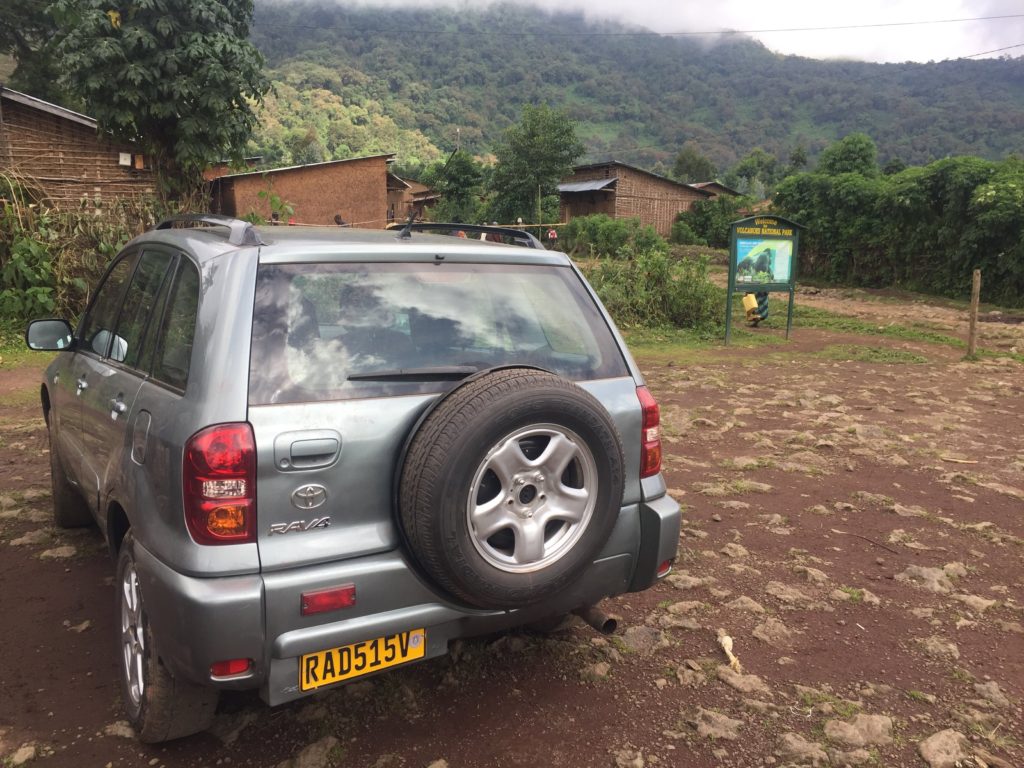
We would strongly recommend renting a vehicle. Be sure the vehicle is an SUV or larger, as there is one stretch of road that is rather rocky. Ask your hotel for contacts or reach out to the “Expats in Rwanda” Facebook group. We rented our vehicle through a connection that a friend of ours had. We simply sent a WhatsApp message and our vehicle was booked.
Step 3: Book a Place To Stay
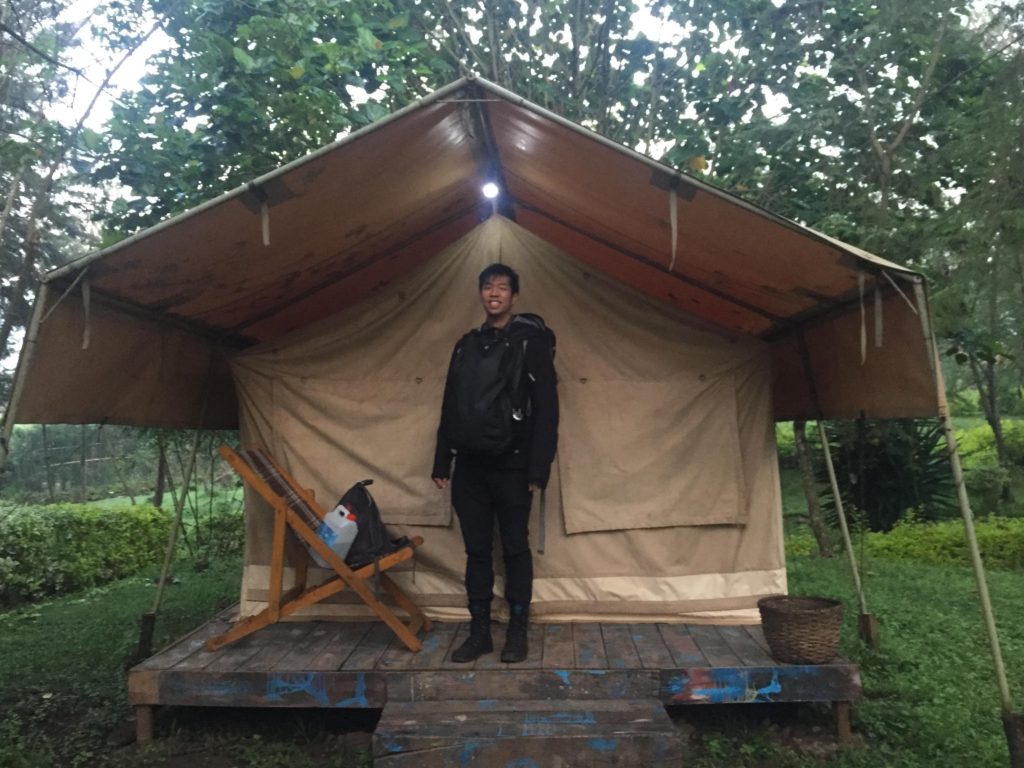
The Mount Bisoke hike requires participants to meet at the base camp at 7am and the drive from Kigali to Ruhengeri is approximately 2 hours. Therefore you will probably want to book accommodations nearby. We stayed at Red Rocks, a hostel and campsite. It has a few private rooms and lots of permanent tents. Although there was a mix-up with our original booking (we learned that mix-ups are not uncommon in Rwanda), they made sure there was a bed for all of us. The food was decent, the wifi was surprisingly good and the atmosphere was relaxed.
Step 4: Pack your Bags
You will need to pack food and water for the hike. We brought 5L of water for three of us. Red Rocks prepared us a substantial lunch, which was nice.
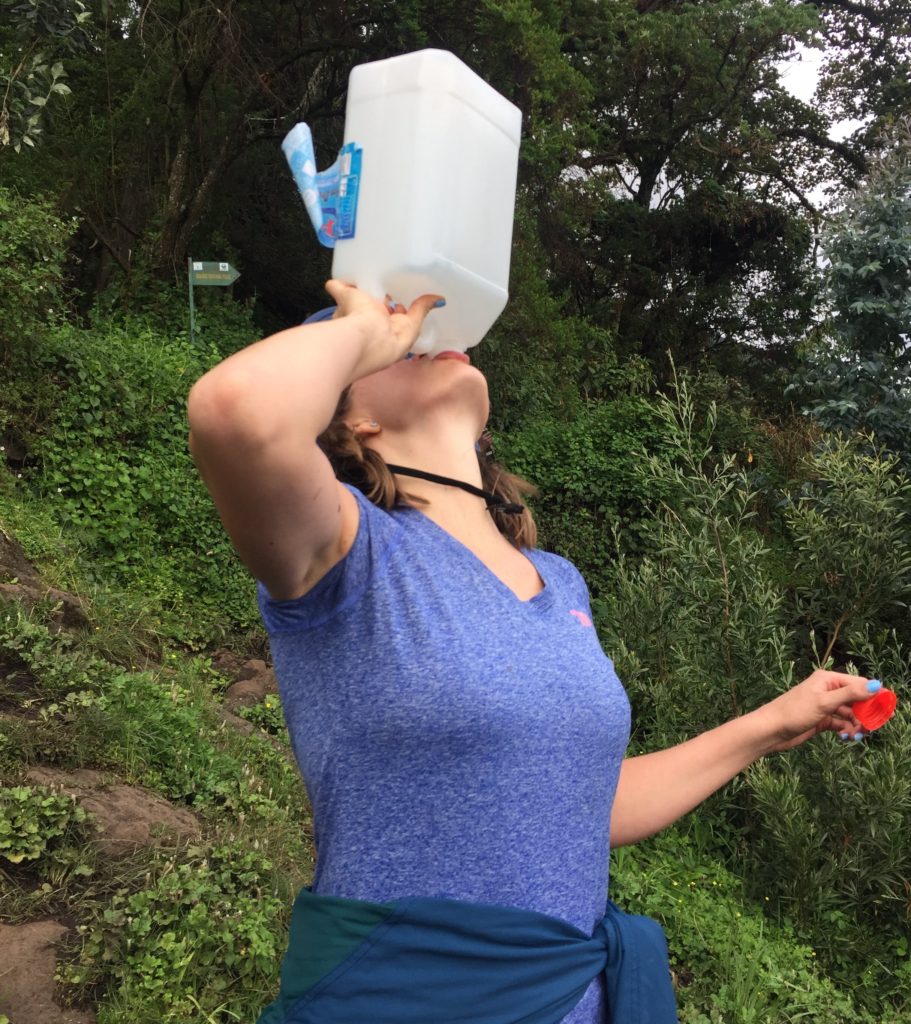
As far as clothing goes, it is best to wear layers and to pack a rain jacket. Long sleeves and pants are recommended, as there is stinging nettle that can cause a rash when it comes in contact with the skin. Having an extra pair of fresh socks and some dry clothes to change into is something to consider.
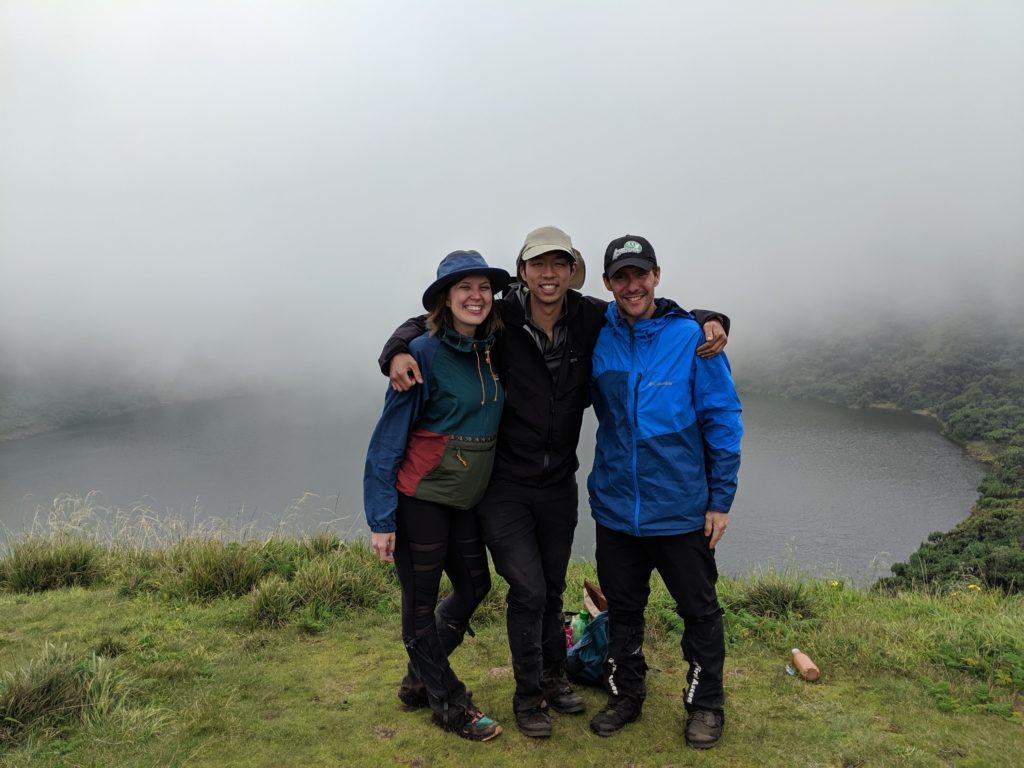
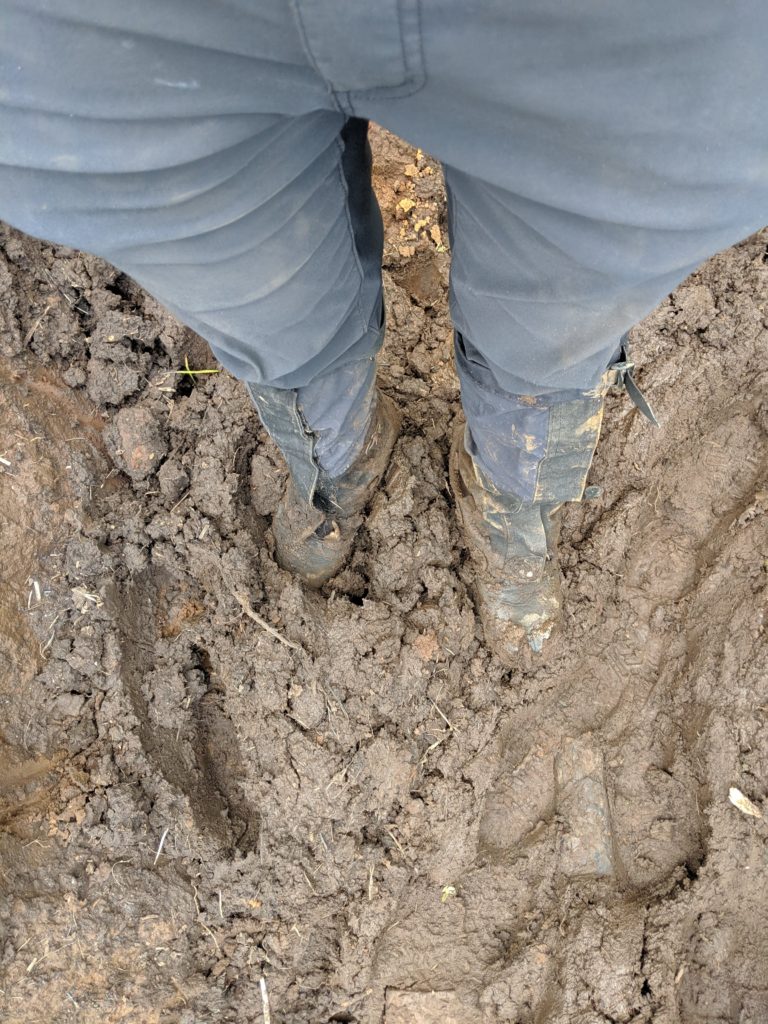
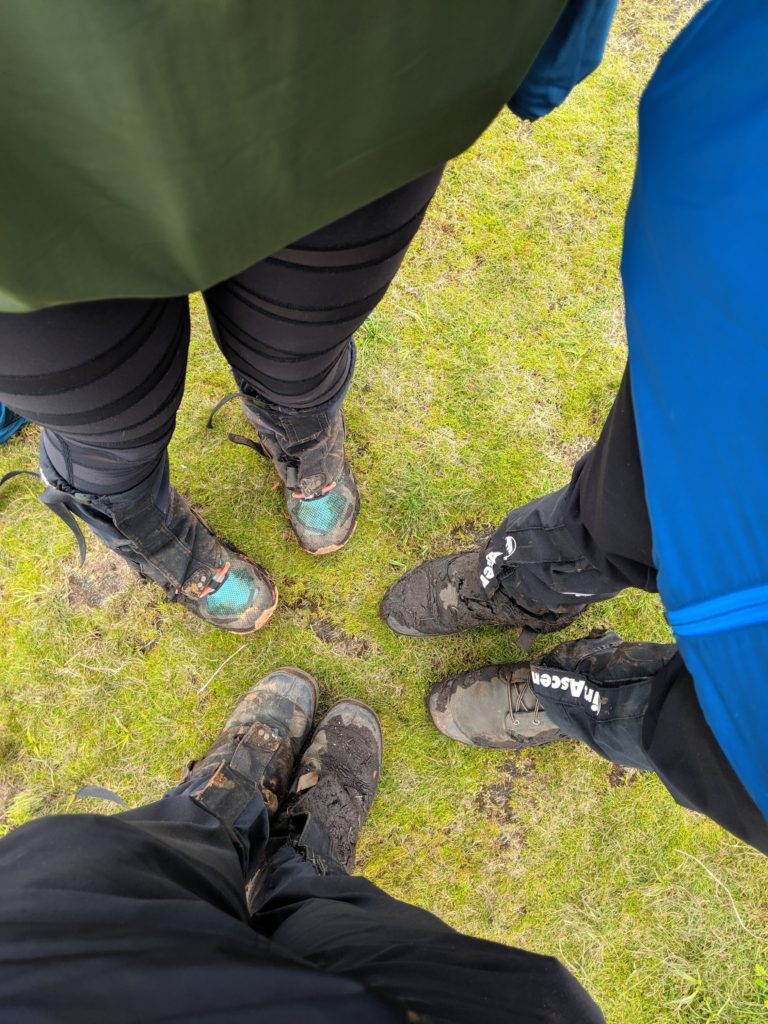
We were thankful to have dry clothes after getting stuck in a torrential downpour at the end of our hike. Finally, waterproof hiking boots are important. There is a lot of mud! Sneakers are not conducive to hiking in these conditions.
Step 5: Have a Big Breakfast
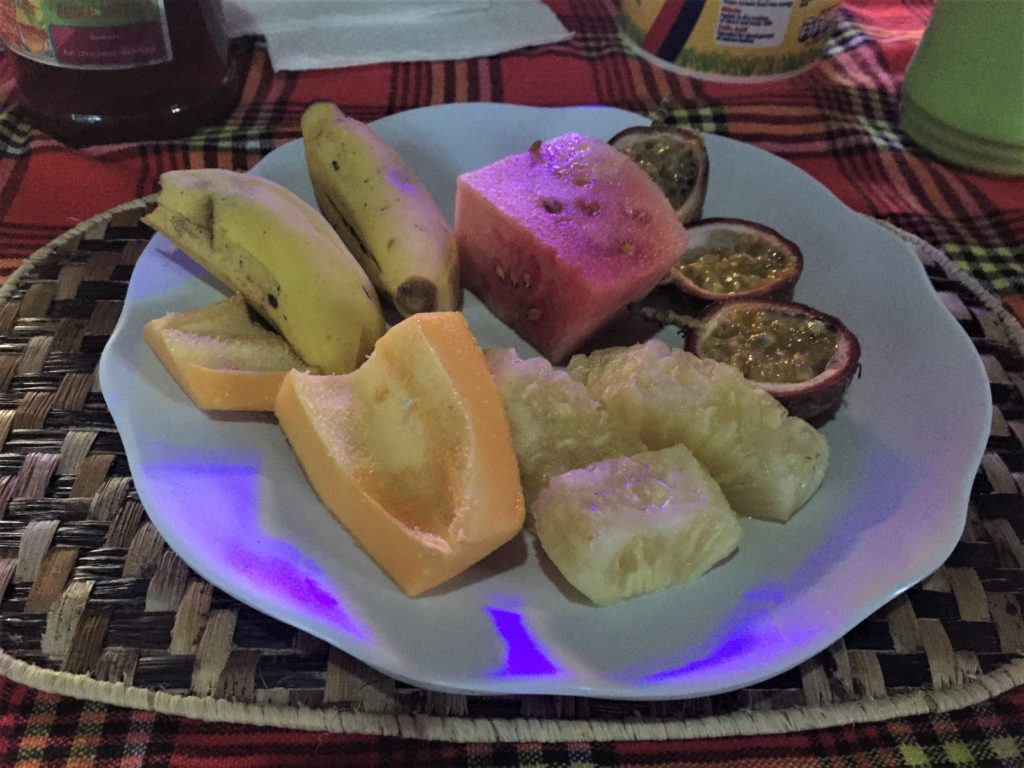
The Mount Bisoke hike is pretty challenging and requires some energy. Be sure to eat a hearty breakfast before embarking. We had an excellent breakfast at Red Rocks.
Step 6: Drive to Volcanoes National Park Headquarters
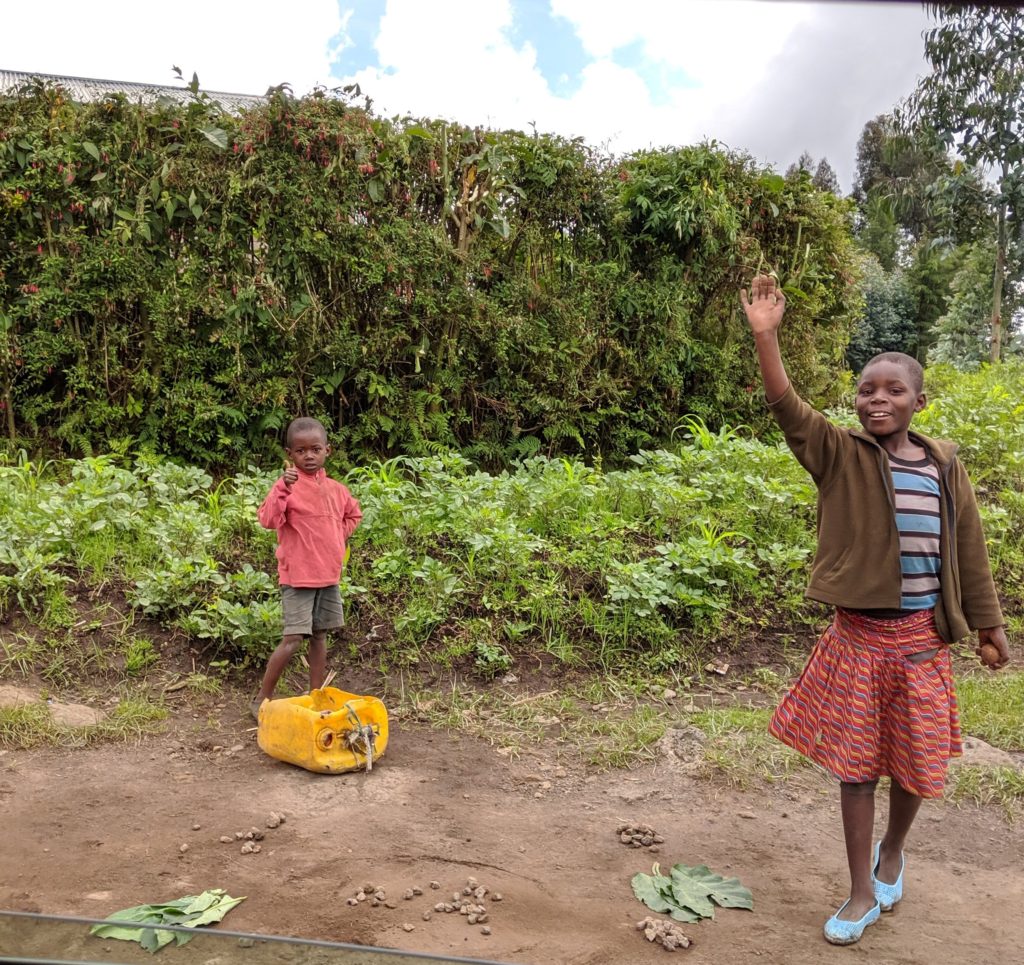
The base camp would like all participants to arrive by 7am. On our way there, Google driving directions took us to an undriveable road. Thankfully, some friendly local children pointed us in the right direction.
Because of the detour, we ended up arriving 35 minutes late. Luckily, we were the only three hikers that day, so it all worked out. To avoid getting lost, refer to the following map with directions from the center of Ruhengeri (Musanze) to Volcanoes National Park Headquarters. Follow the blue line on this map (and NOT the red).
Step 7: Rent Gators
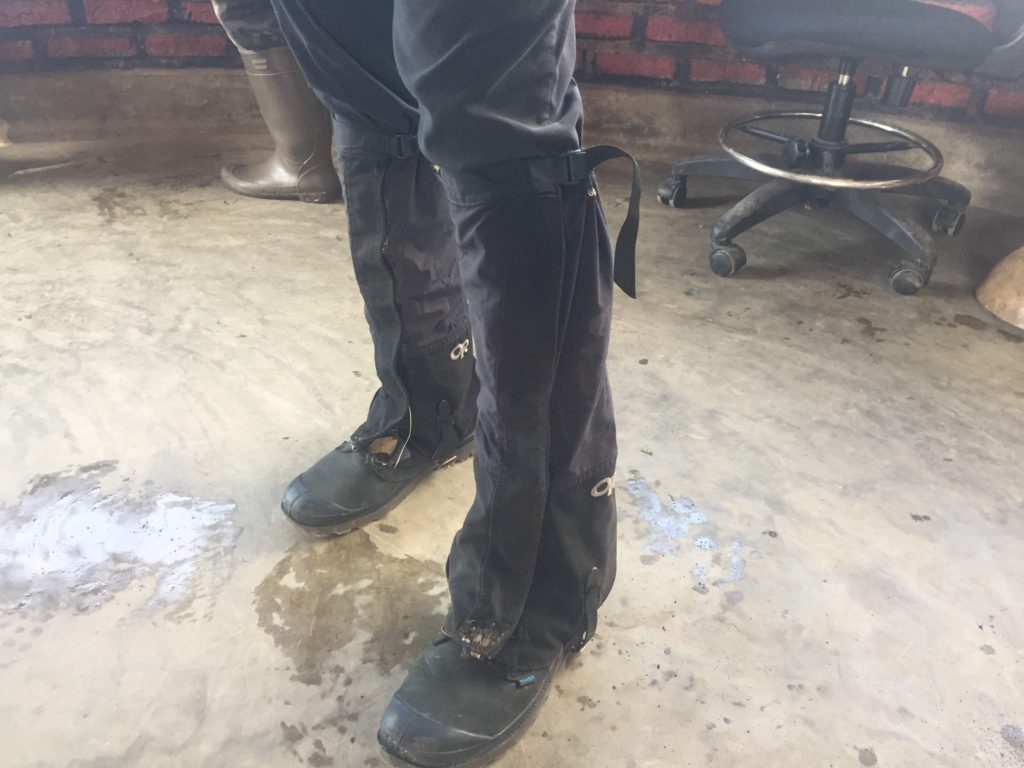
Once you arrive to the base camp, rent some gators (boot covers). They will help tremendously with keeping your pants clean in the mud!
Step 8: Use the Toilet
At the headquarters, that is the last time you will have an opportunity to use the toilet until the hike is complete.
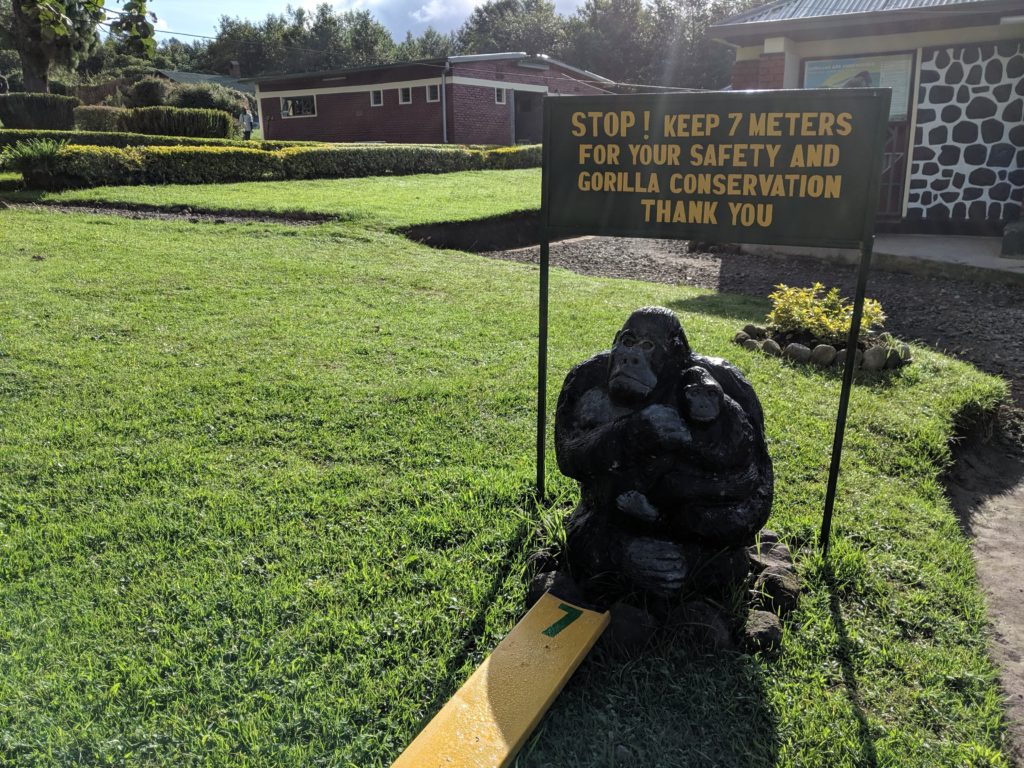
Step 9: Drive to the Base of the Volcano
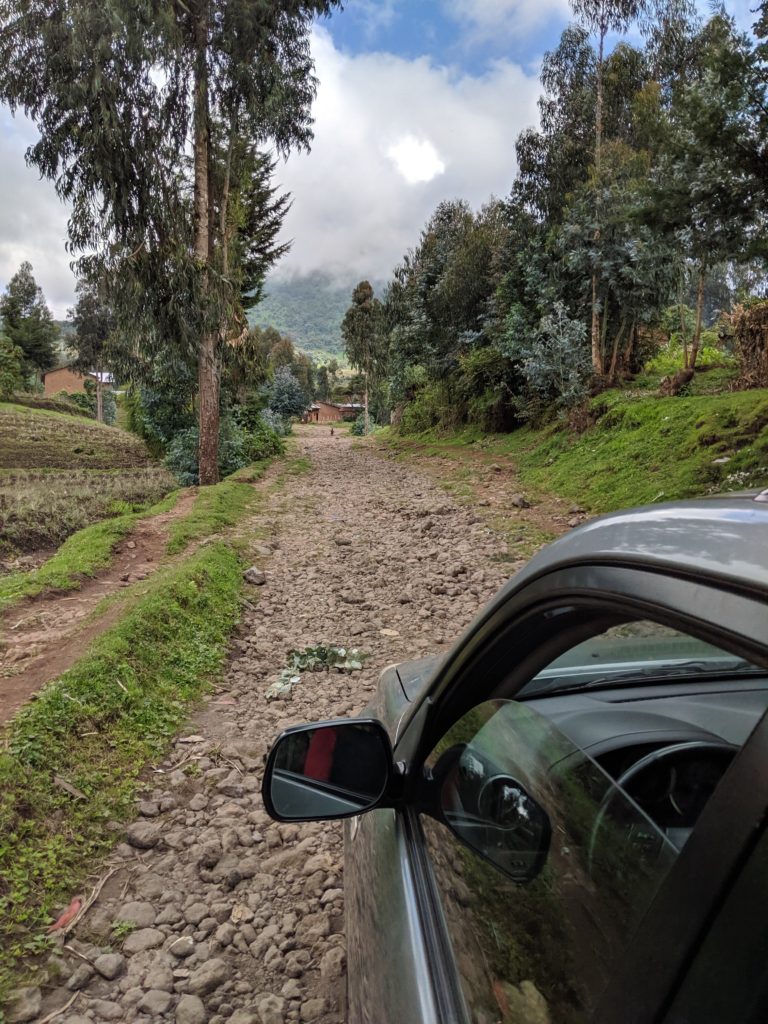
As we were the only three hikers that day, our guide joined us in our car to drive to the volcano. TIP: If there are more hikers, it would be best to carpool in the biggest vehicle. On the way to the volcano, there is a 1km stretch that is probably the worst road on which I’ve ever driven. It was basically just a collection of giant stones. If our guide was not in the car, I would have definitely thought we took a wrong turn. Regardless, our Rav4 pulled through and we got an epic “African massage” in return!
Step 10: Hire a Porter
Once you reach the starting point, you can hire a porter for 10,000 RWF (plus a small tip at the end). We highly recommend hiring a porter as they will carry your bags and will help pull you up at challenging spots. Not only that, it helps the local economy as well. I felt that the porter was particularly useful on the way down, as it was very muddy and slippery.
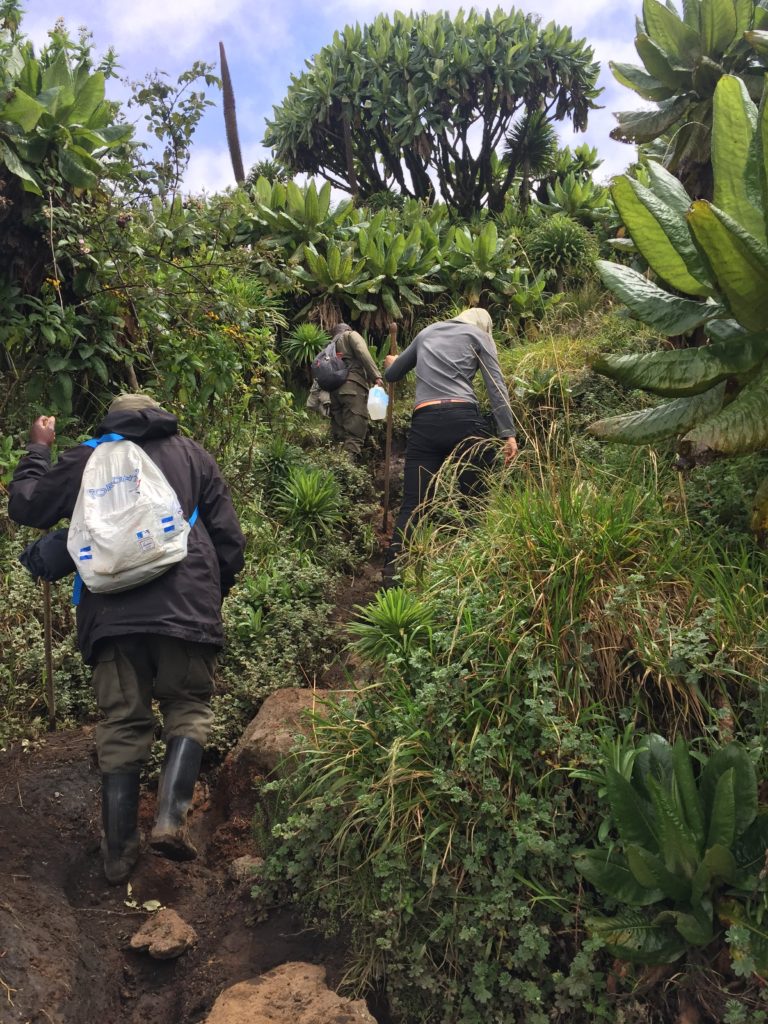
My particular porter was a little too eager though. He felt it was necessary to lend me a hand at times I didn’t need help despite my reluctance for assistance. Either way, it was still helpful to have him around.
On our guide’s recommendation, we also hired a local man to watch the car while we hiked. Usually, there are multiple vehicles parked together, but since we were the only hikers, our RAV4 was the only one there.
Step 11: Complete the Hike
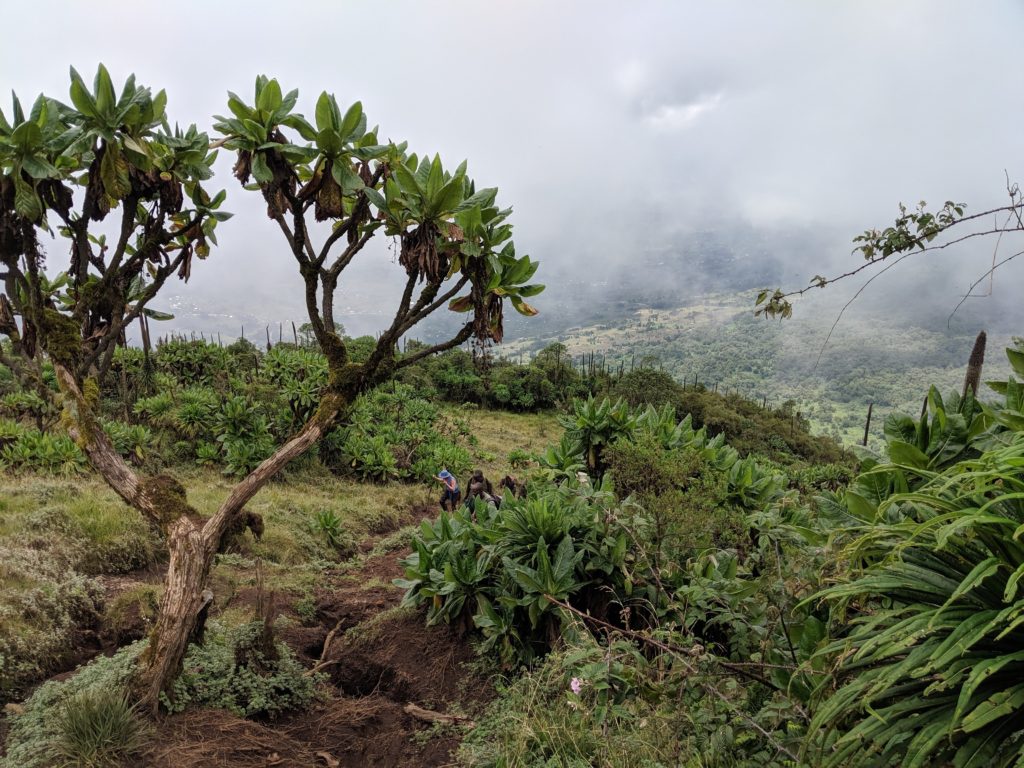
Our hike took us approximately 3.5 hours to reach the top and about 2-2.5 hours down. The great thing about this hike is you do not need to hike as a group. Everyone can go at their own pace. We’ve heard that in larger groups, it usually breaks into three groups by speed. With just three of us, we took breaks whenever needed. There are plenty of places to stop and rest. It should be noted that the altitude level reaches 3711 m, which can make breathing a little more difficult.
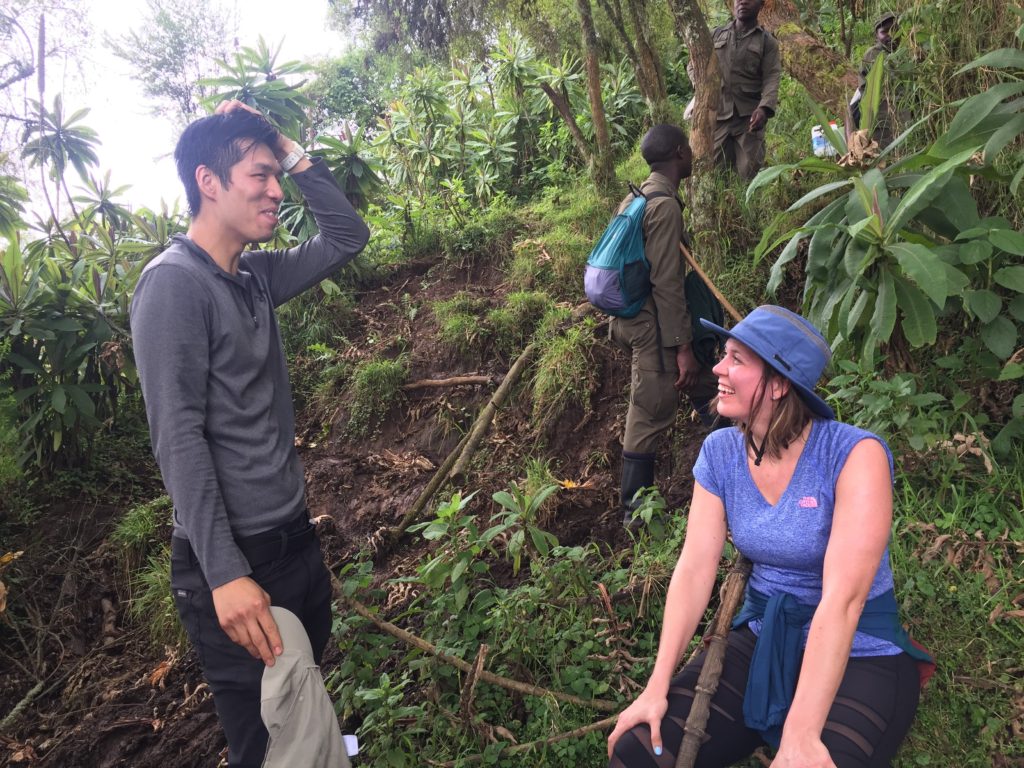
Strangely, there were nine other people accompanying the three of us during our hike. They consisted of our guide, two other guides in training, three porters, and three army men with AK47 rifles. We were told the army men were there to “scare away buffalo”. However, we suspect they were there to protect us from kidnappings, as we were extremely close to the border of the dangerous Democratic Republic of Congo.
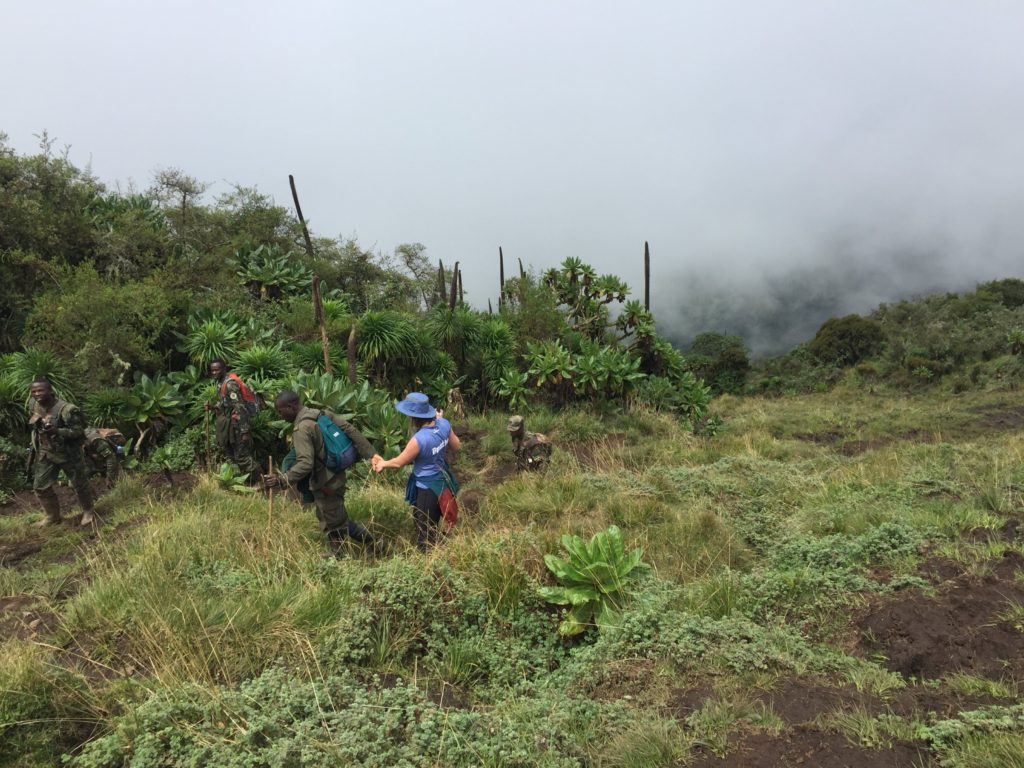
We were lucky to get an awesome view of the crater at the top! It certainly felt like an amazing accomplishment when we got there. Be aware that the temperature was significantly lower at the top of the volcano, so it’s wise to have layers.
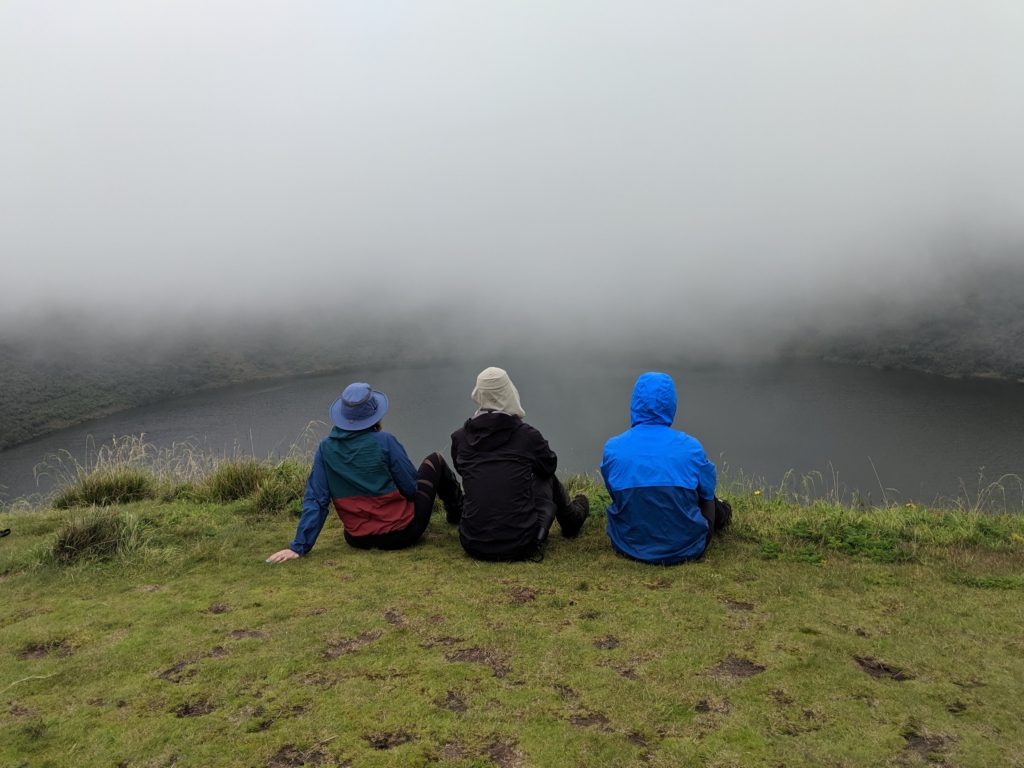
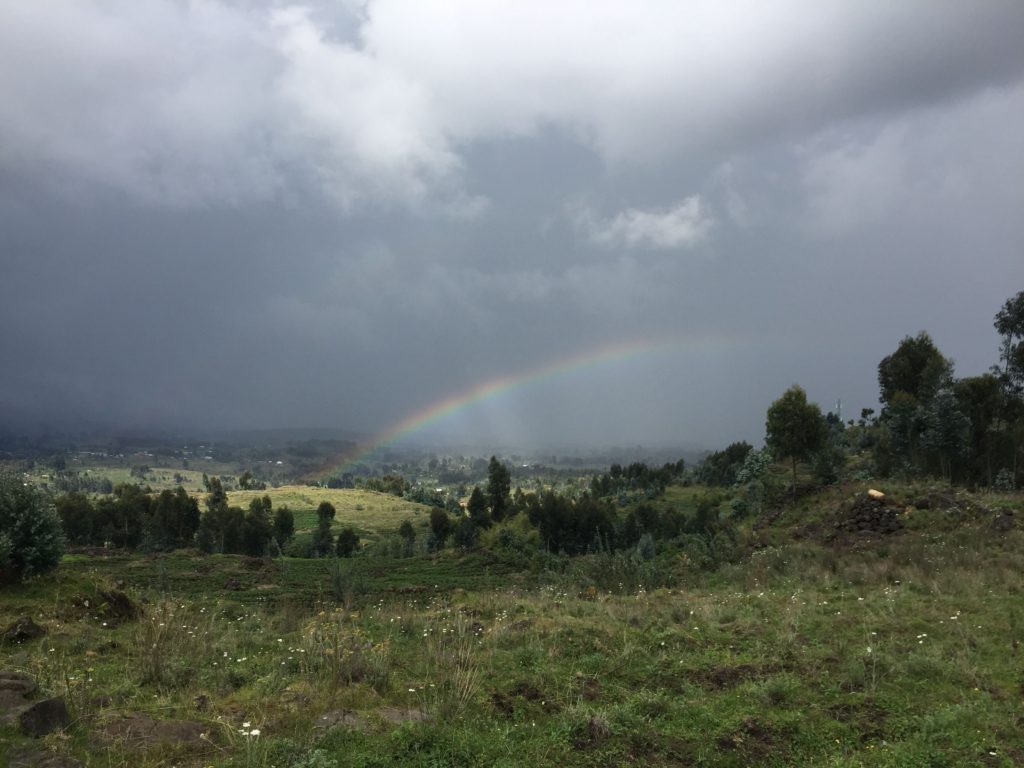
Near the end of our hike, we unfortunately got caught in a huge rainstorm! Thankfully, this occurred at the end of the hike and not on the way up.
Step 12: Clean your Boots
If you feel so inclined, you can visit the bar across the street from the parking area. They will clean the mud off your boots for a small fee. Because of the rainshower, we had already received a natural cleaning!
Step 13: Drive Back to the Hotel and Relax
The drive back also includes the crazy rocky road. Our guide instructed us that he would like to be dropped off somewhere different than the headquarters, which was conveniently on our way back to the hotel. We spent the afternoon relaxing at Red Rocks and reminiscing about the feat we had just accomplished.
Although the Mt. Bisoke hike is challenging, it should not intimidate you. The “hike at your pace” philosophy and the opportunity to have a porter makes it far less difficult. If you have any questions or comments, please reach out! Happy hiking!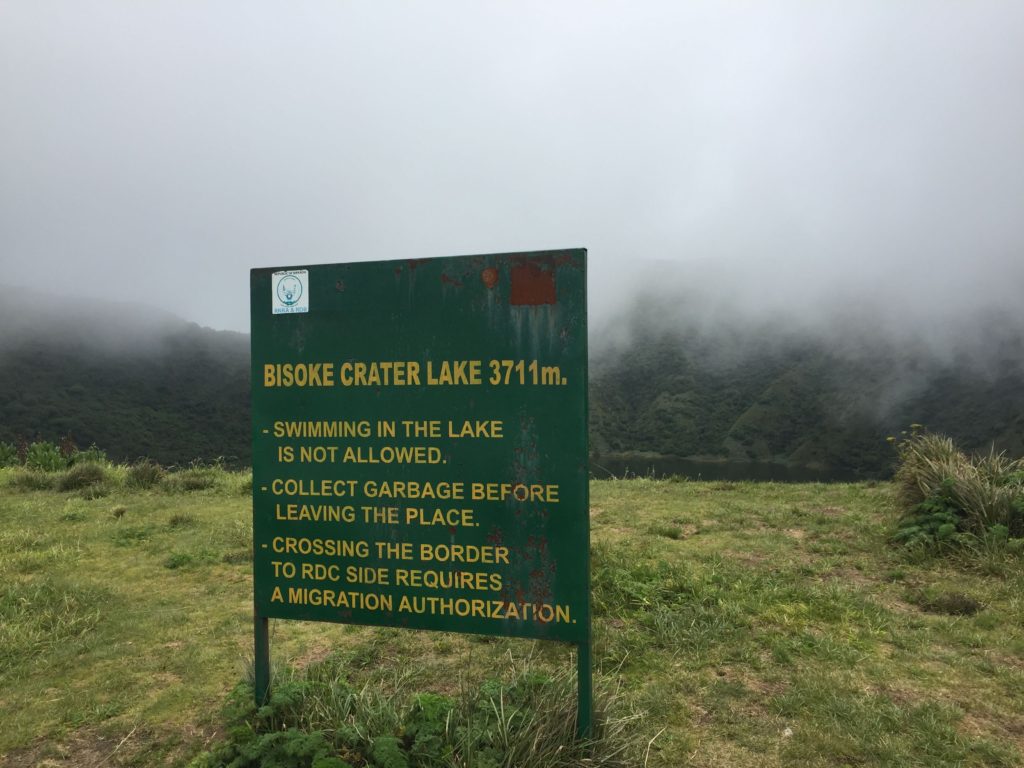
Disclosure: Please note that this site may contain affiliate links to products. We may receive a small commission for purchases made through these links at no extra cost to you.


Be First to Comment