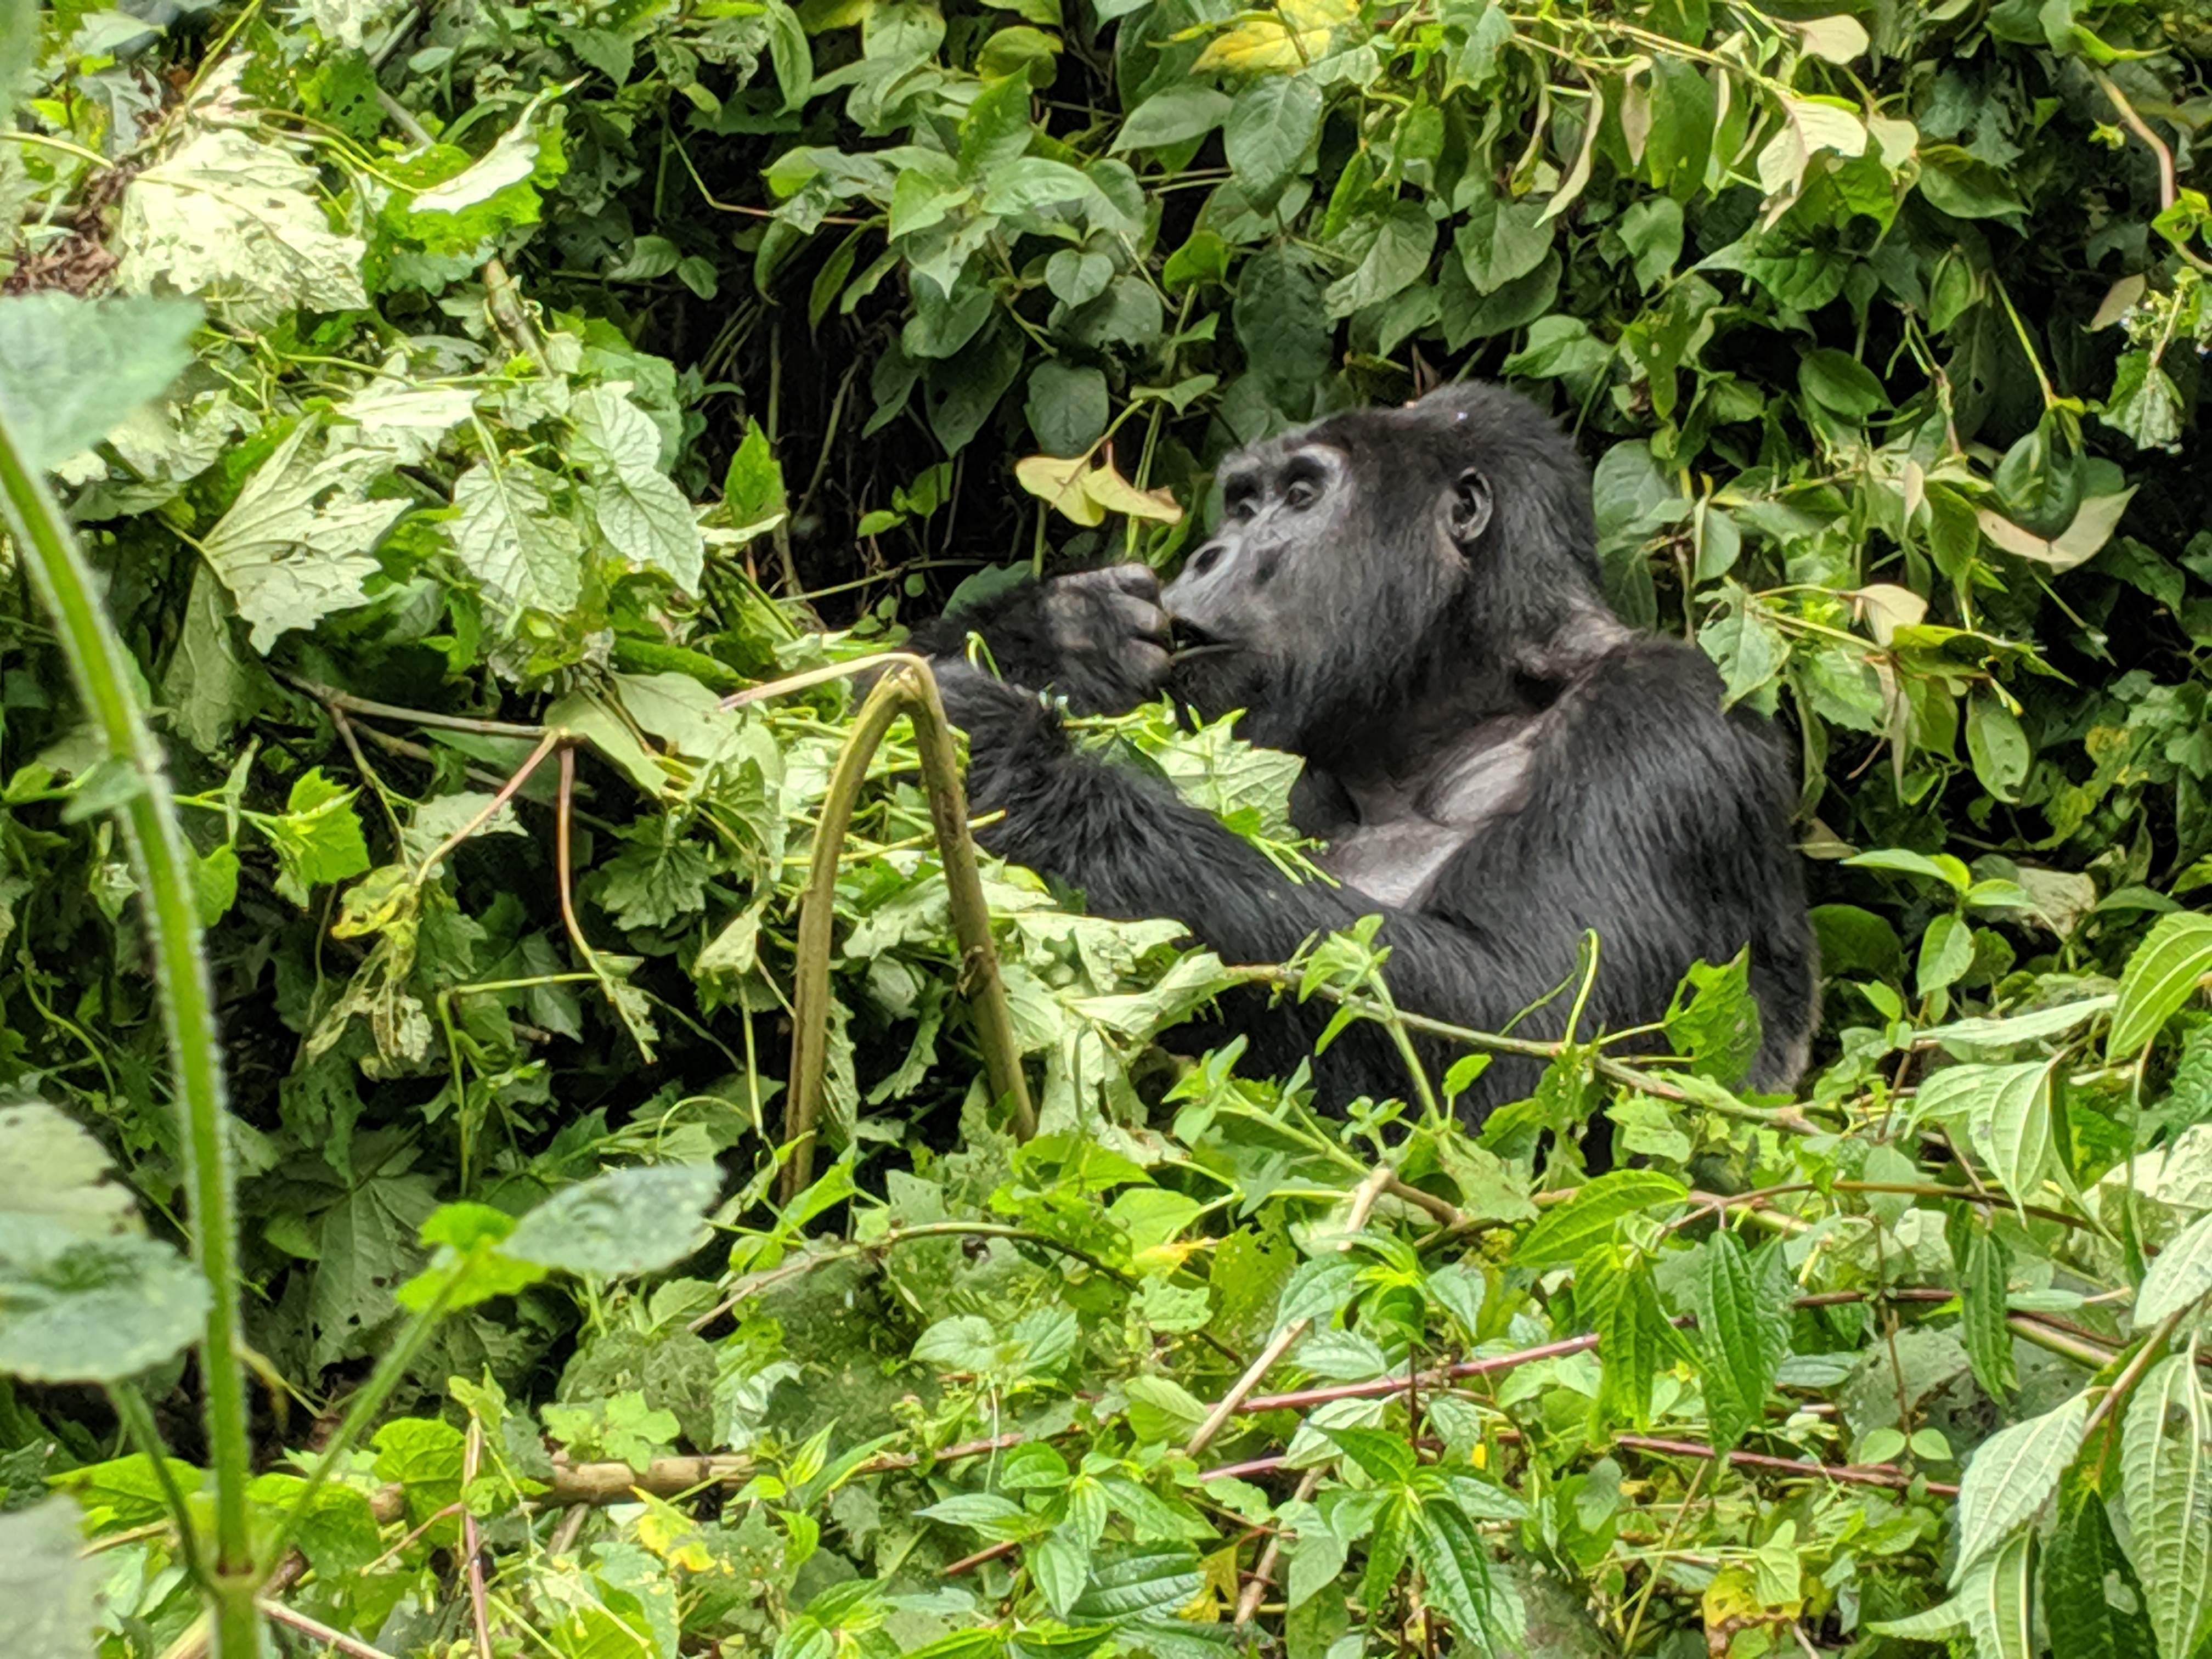
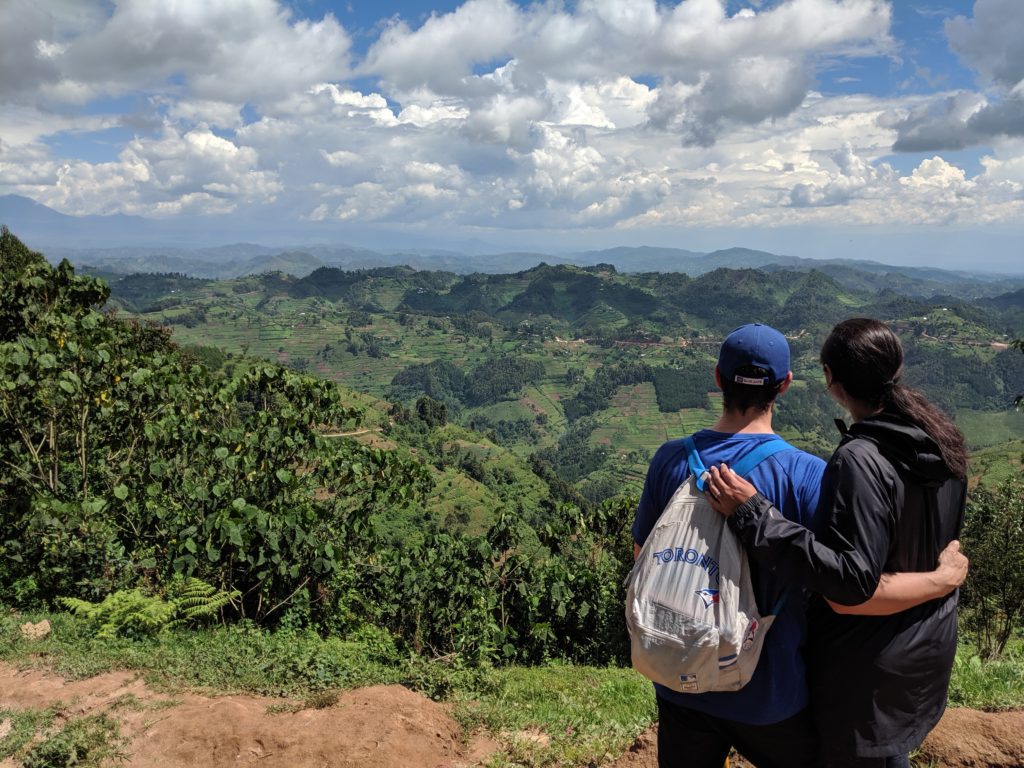
Seeing gorillas in the wild was one of our most memorable travel experiences to date! To observe these magnificent, endangered species in their natural habitat was something we will never forget. The only places in the world to see mountain gorillas in the wild is in Rwanda, Uganda, and the Democratic Republic of Congo. 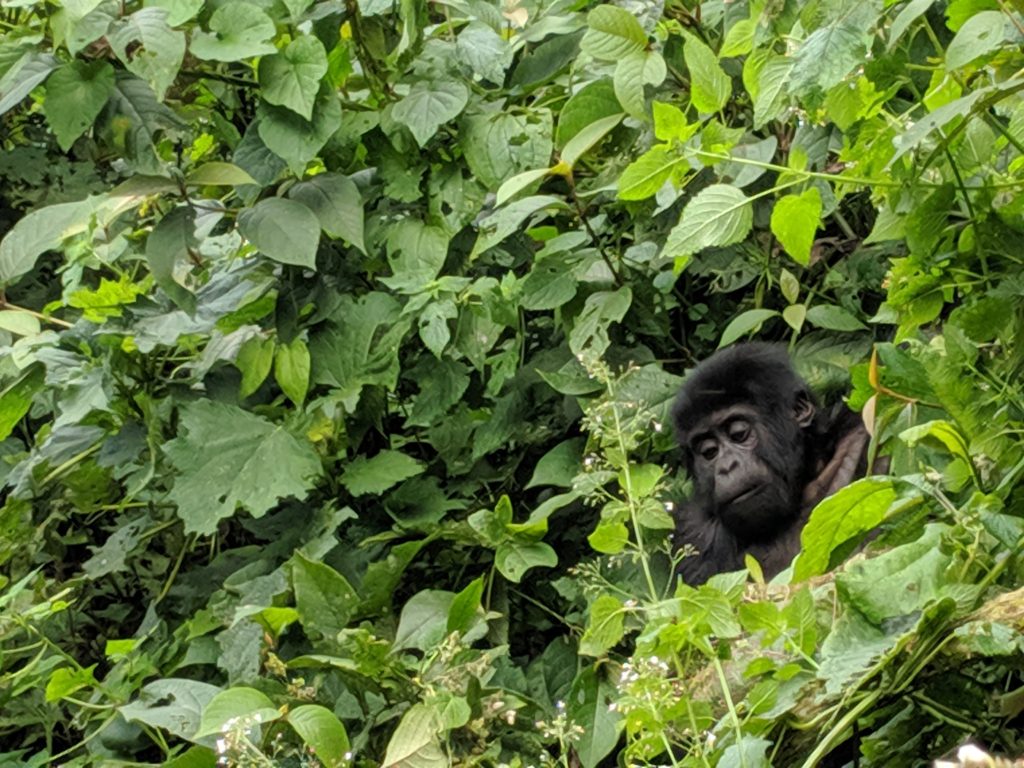 While on our trip to Rwanda, we discovered it was significantly less expensive to visit neighbouring Uganda to see the gorillas. A one day permit to track gorillas in Rwanda is $1500 USD per person, while the same permit costs $600 USD per person in Uganda. Although the price tag for both options may seem steep, we wholeheartedly recommend doing it. The following is a step by step guide to plan your gorilla trekking experience in Uganda.
How Does The Gorilla Trek Work?
The mountain gorillas are an endangered species that are found in only three countries world-wide. Only a certain number of permits are allotted per day for tourists to see them. Gorilla trackers follow families of gorillas until dusk. At dawn, they use clues to track the family. Once they know their general vicinity, they message the local guides, who bring tourists to observe the gorillas for one hour.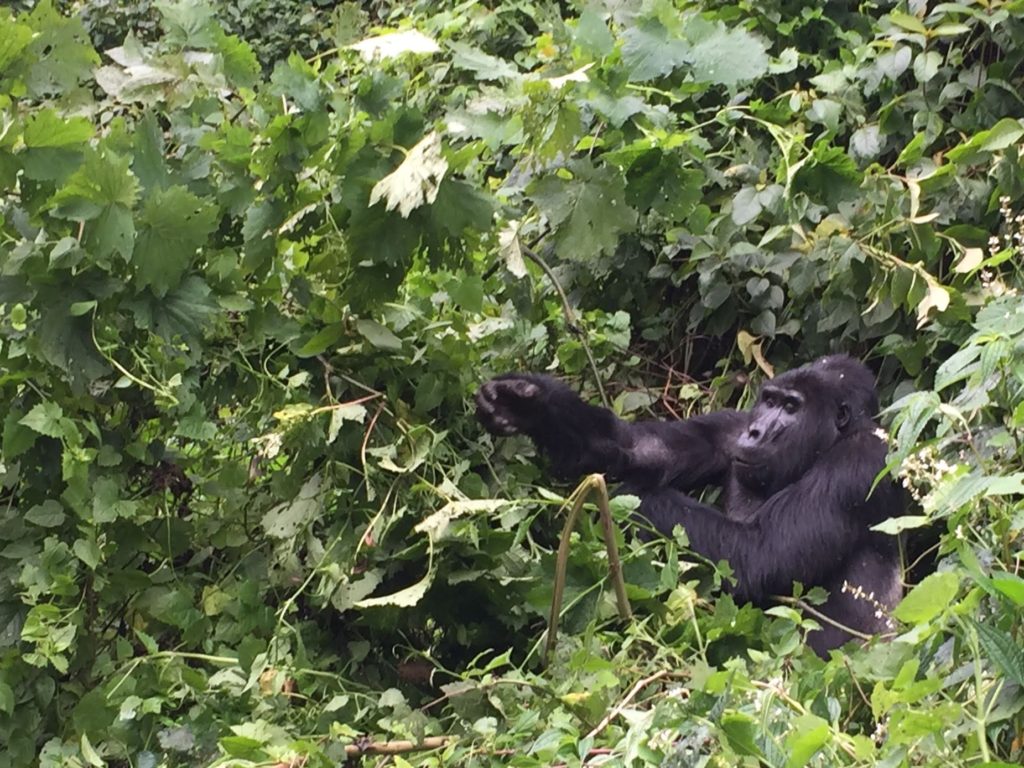
Groups of tourists are split up by age (from what we observed). From talking to other people and observing our group, we noticed that the younger tourists are likely to take the most difficult route, and track the gorillas deeper in the bush. The older, less mobile tourists, will track families that are closer to base camp. It took us approximately two hours to reach the gorillas, and the hike was moderate in difficulty.
Once a group reaches a gorilla family, they are limited to one hour of time to observe. This requirement is in place to lessen the impact tourists have on the gorillas. Certain gorilla families been habituated, so they are used to being gawked at by tourists for one hour per day.
Step 1: Book Accommodation and Obtain a Gorilla Permit
There are a number of options for accommodation near Bwindi National Park, the park closest to Kigali, Rwanda, where we began our trip. We chose to stay overnight at Bwindi Backpackers Lodge. Our beds were comfortable and the showers were warm. However, based on the reviews we read online, we tempered our expectations.  We read that the wifi likely would not work and that the site would probably try to upsell other products to us, such as transportation, meals and hiking boots. Because we were well prepared with our own boots, transportation, and food, this was not an issue for us. The gorilla permit costs $600 USD and was arranged through Bwindi Backpackers for us.
Step 2: Obtain a Visa for Uganda
The easiest method for obtaining a visa is to get the East Africa Tourist Visa, which allows multiple entries to Rwanda, Uganda, and Kenya. This visa costs $100 USD per person and can be purchased on arrival to Rwanda.
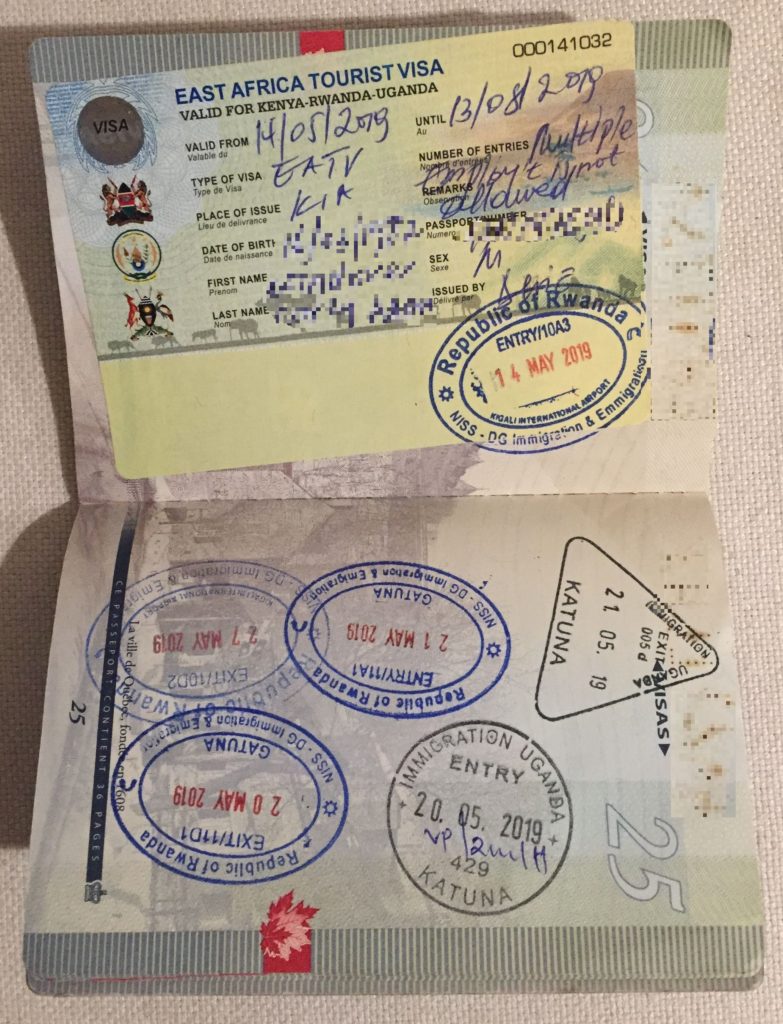
You can buy it online in advance, but there are extra credit card charges, so it’s cheaper (and easier) to buy it upon arrival.
Step 3: Arrange Transportation from Kabale to Accommodation
Most accommodations will have options to book transportation from Kabale to the hotel, from the hotel to Bwindi National Park meeting spot, and then from Bwindi Park back to Kabale. 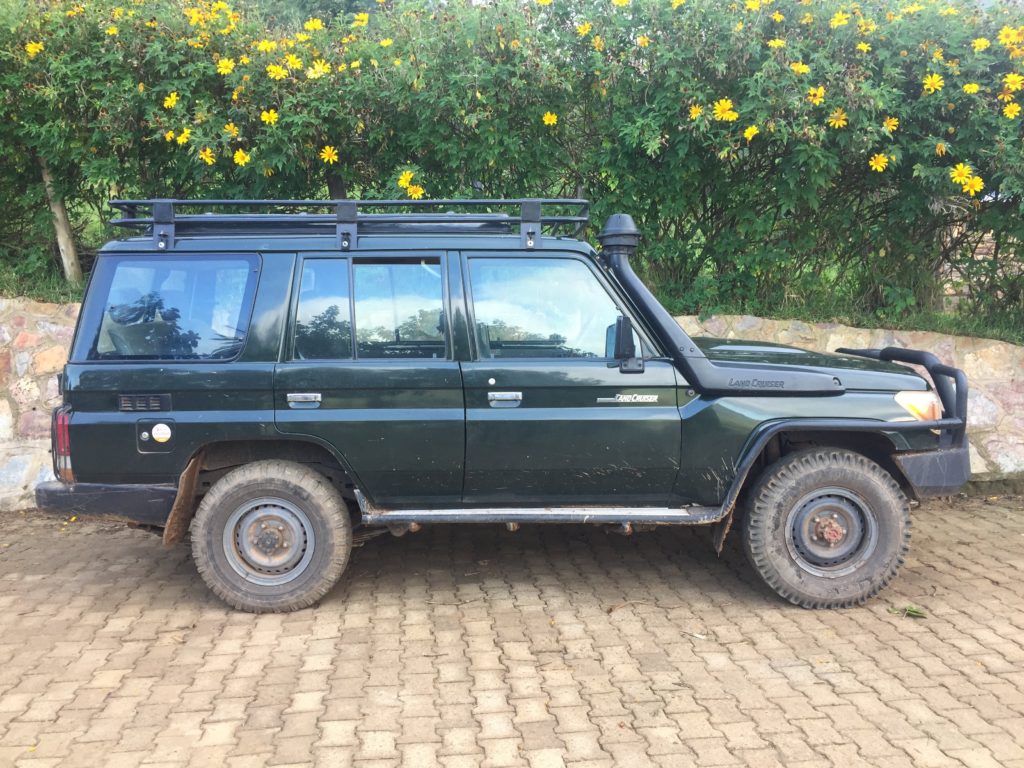 We paid $100 USD for round-trip transportation from the Kabale bus station to Bwindi Backpackers.
Step 4: Pack Your Bags
Be sure to have solid hiking boots, as it is unpredictable how long you may have to hike before reaching the gorillas. Also, the terrain is muddy and rocky at times.
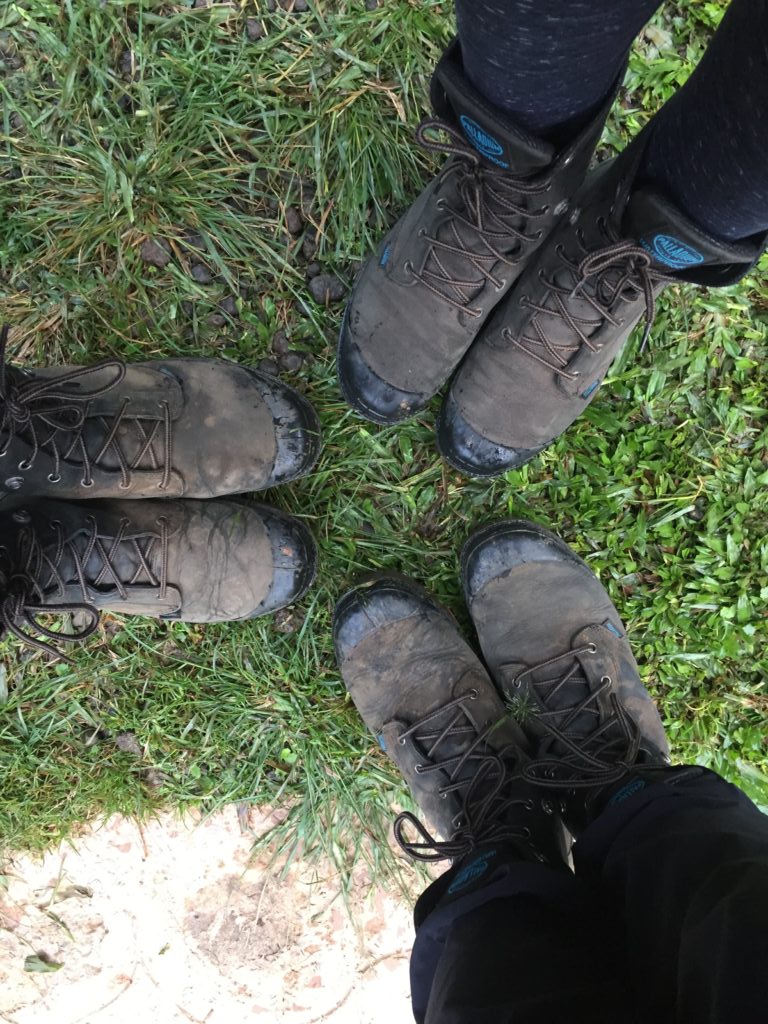
It is beneficial to wear layers with long pants and sleeves to protect your skin from the brush (stinging nettles are common). Also, make sure you have packed a raincoat. Bring plenty of water, snacks, and a lunch. If you are worried about carrying a heavy bag, porters are available to hire if needed.
Step 5: Arrange Transportation from Kigali to Kabale
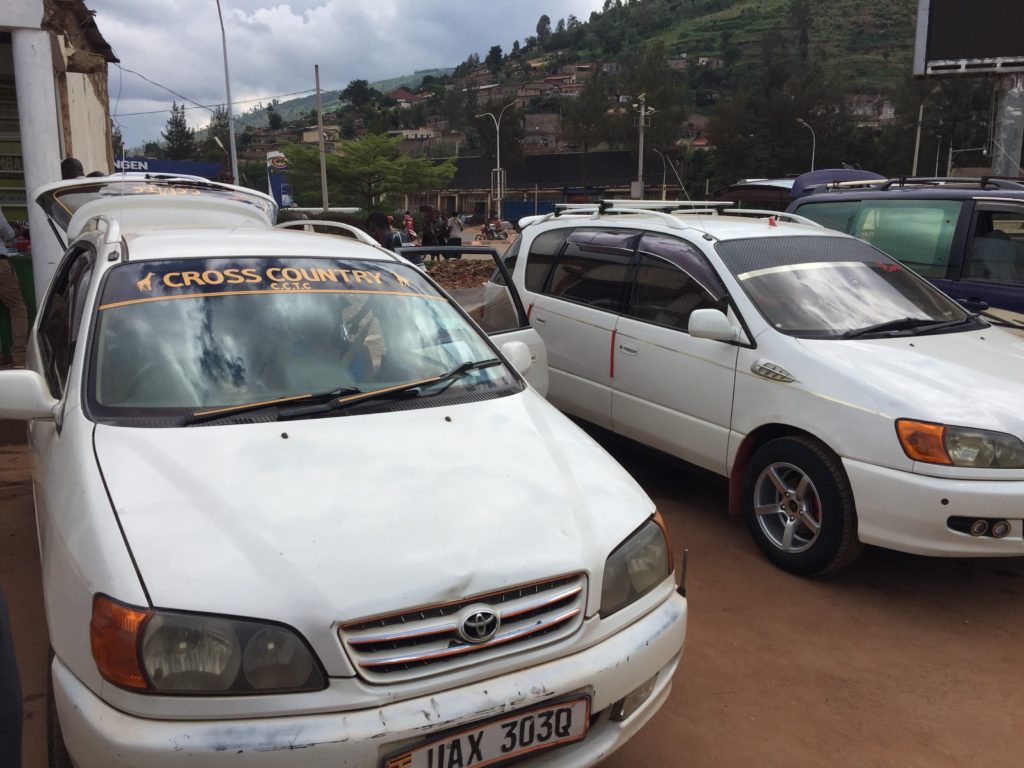
Getting from Kigali to Kabale can be arranged at the Kigali bus station (Nyabugogo). We paid $25000 RWF for a private car from Cross Country Tours in May 2019. They will take you to the border, wait for you as you clear immigration, then drive you to the bus station in Kabale.
There are buses from Kigali to Kabale that are much cheaper. We returned to Kigali from the Ugandan border for a mere $1200 RWF! You can exchange money at the Kigali bus station if you require Ugandan Shillings. We later realized that there are also many money changers at the border, who are open to negotiation!
Step 6: Clear Immigration and Cross the Border
When we arrived at the border, we were directed to a window that resembled a ticket booth. This is where we received our exit stamps from Rwanda. 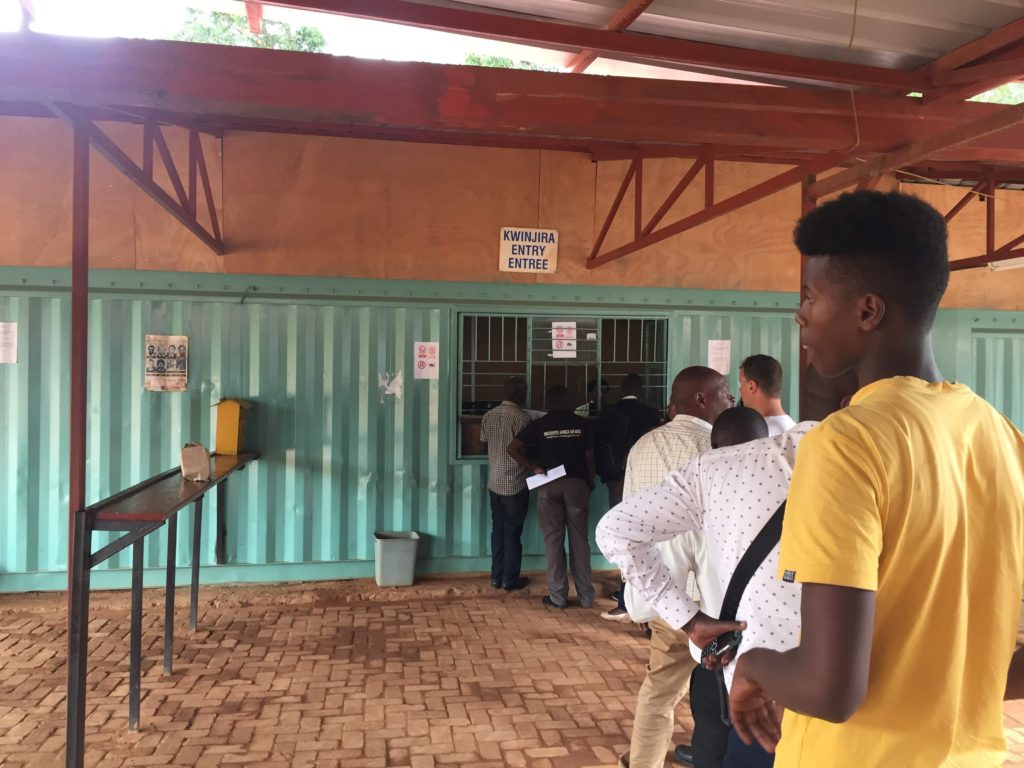 We then walked across the border and showed our stamp to a guard, who directed us to the Ugandan immigration office, which was in a tiny building nearby.
 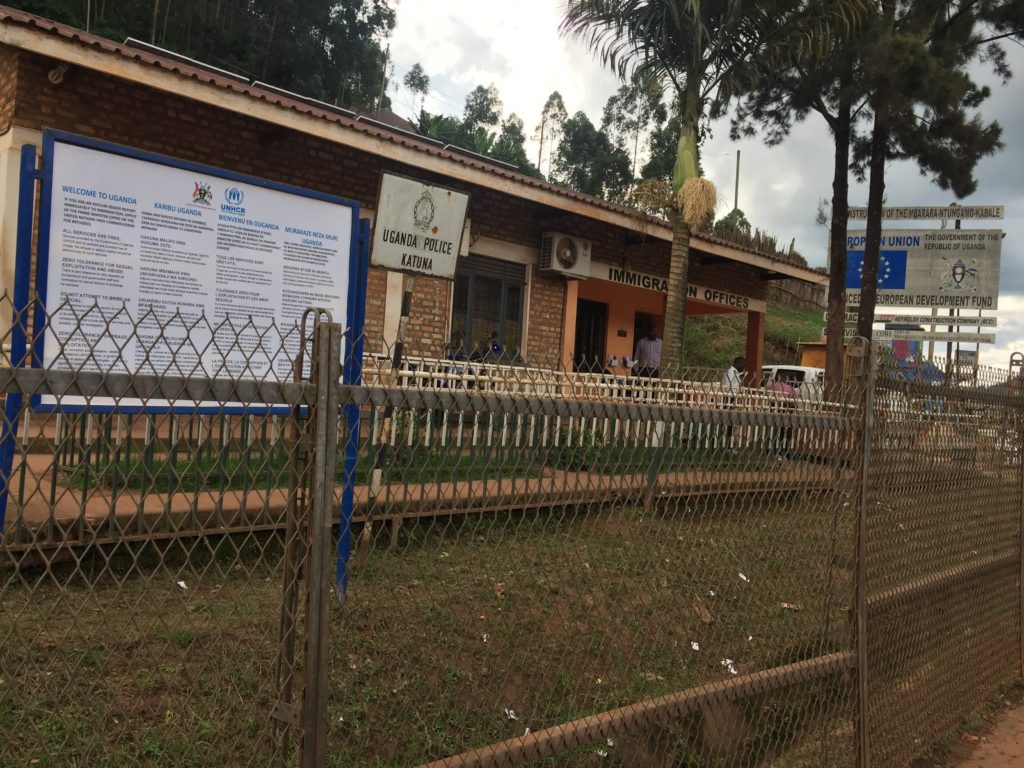 We were required to fill out an immigration entry paper for Uganda, presented it to the customs officer, answered questions about our trip to Uganda, received our stamps, and then we were finally finished.
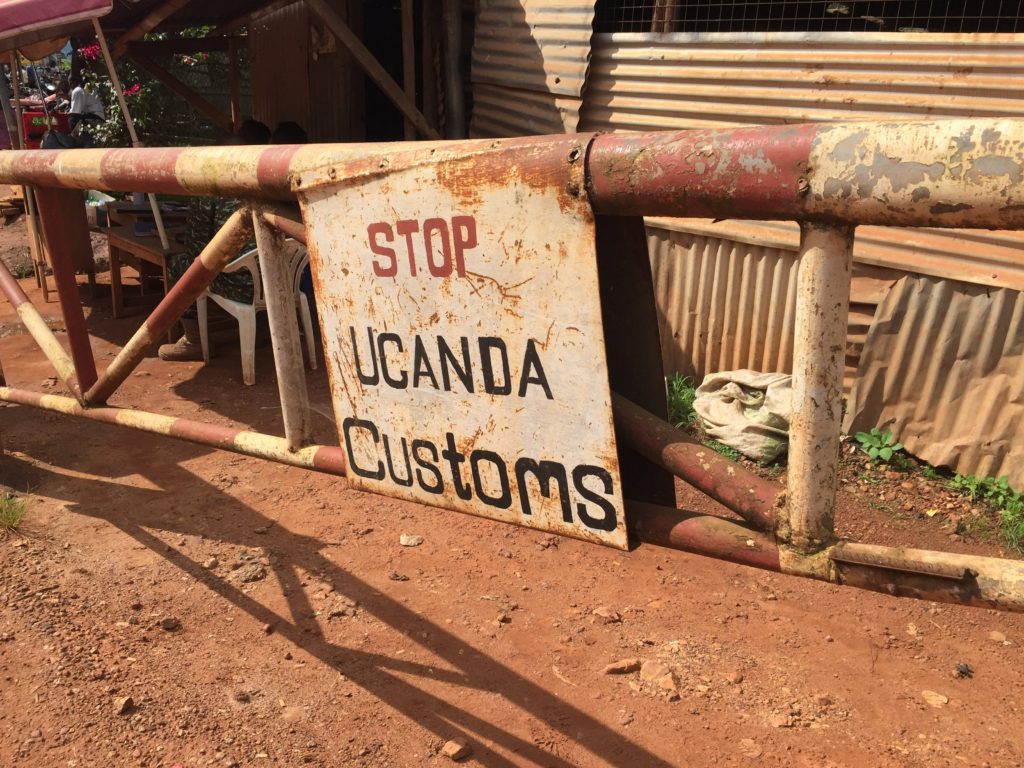 Our driver then picked us up and drove the final 20 minutes to Kabale.
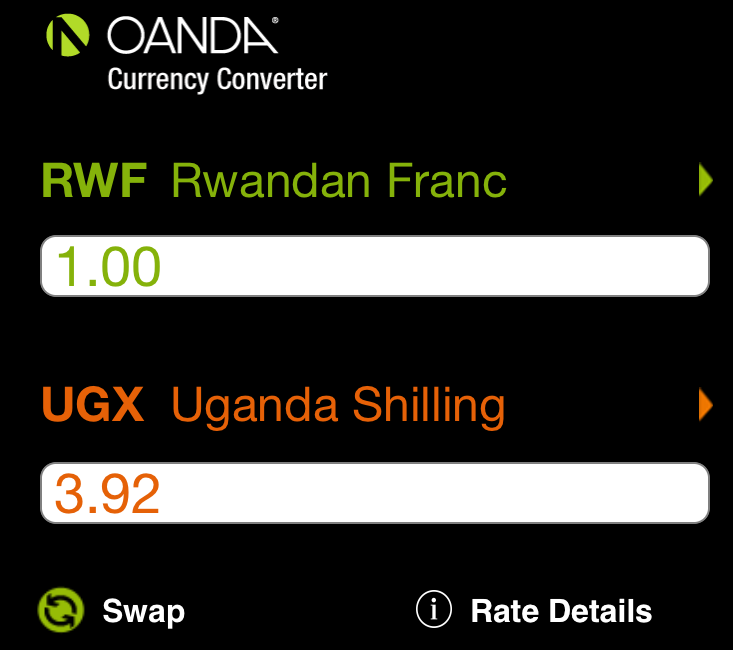
Step 7: Exchange Money (if required)
Near the border, there are dozens of people offering money change. Be sure to look up the current rates before you enter Uganda, so you can negotiate a good rate.
We exchanged some money in Rwanda, but used these unauthorized money changers on our way back.
Step 8: Have Lunch and Pick Up Food
There are many places to eat in Kabale. We enjoyed an awesome meal at Kwanzi, which has a nice open air rooftop restaurant.

Afterwards, we picked up some delicious samosas and bakery items at Hot-Loaf Bakery to take with us on our hike.
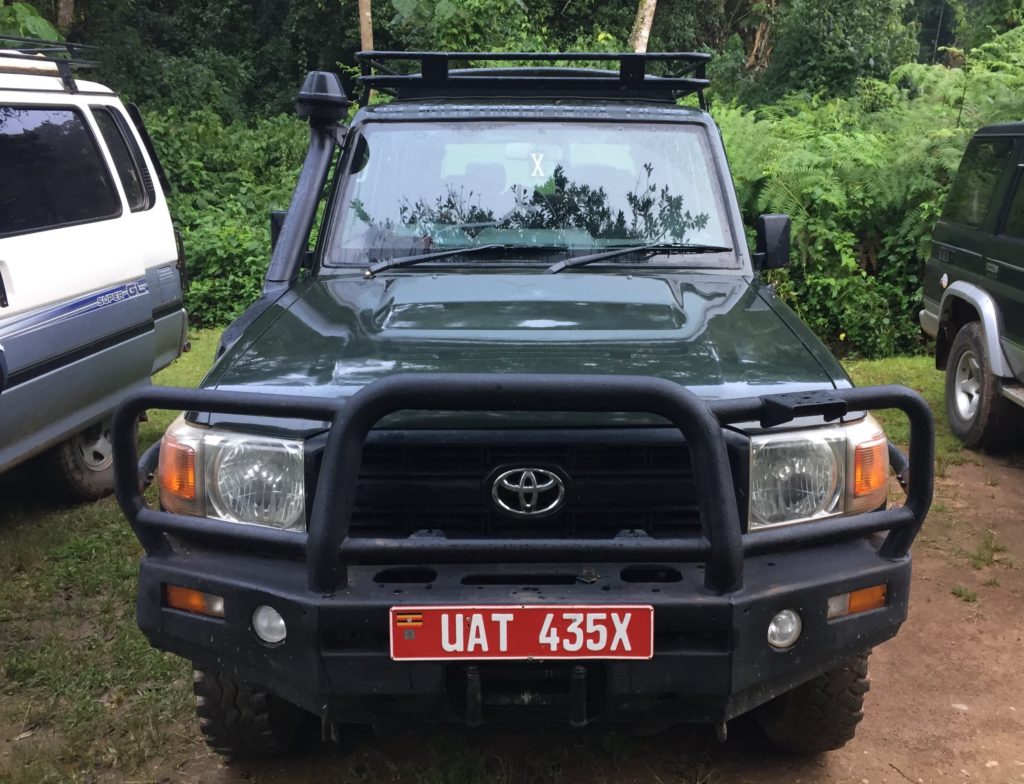
Step 9: Meet Driver in Kabale
We met our pre-arranged driver near Kwanzi restaurant. He then drove us to Bwindi Backpackers Lodge.
Step 10: Get a Good Night’s Sleep
The gorilla trek may be a long hike, so it is important to ensure you get a good night’s sleep.

Step 11: Track the Gorillas
Our driver took us to the meeting place in Bwindi National Park. 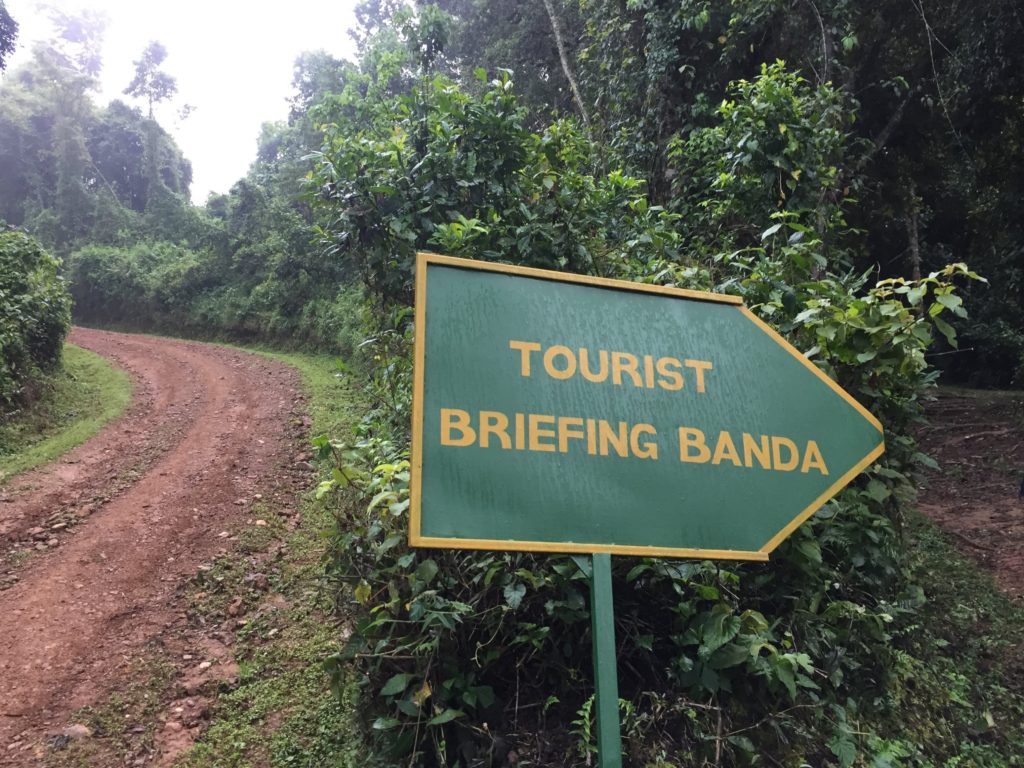 We were required to hand our passports to the guides, as they used these to help organize us into groups (based on age, from what we noticed). All guests were then given background information about the gorillas and information about the trek.
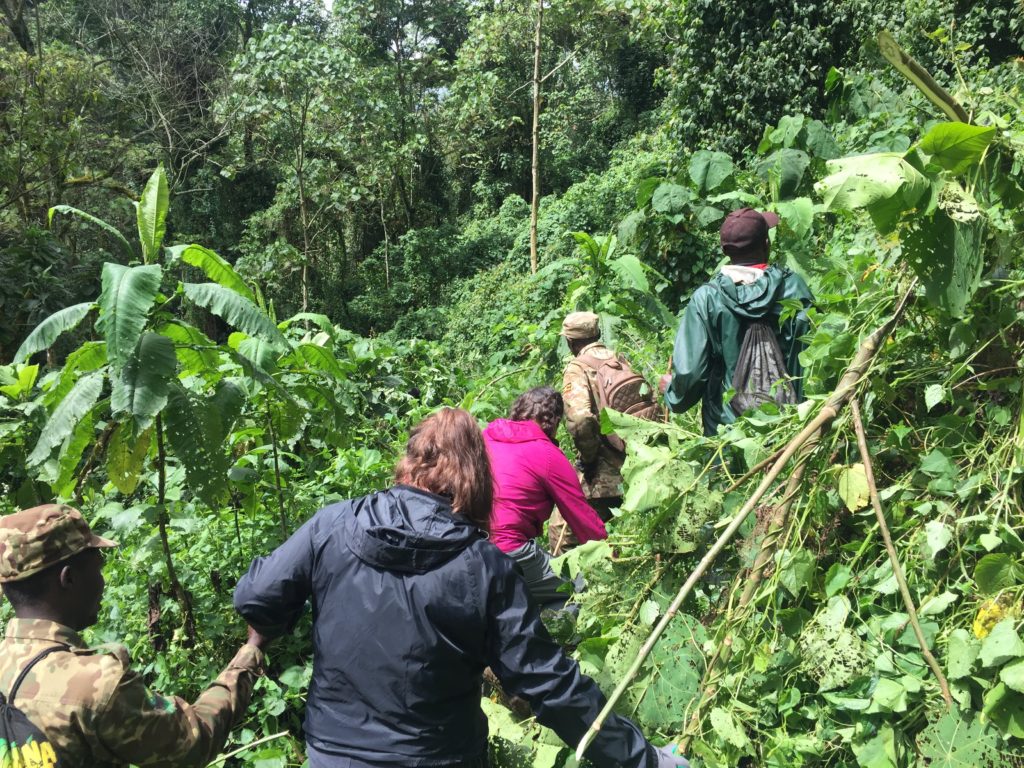
  They encouraged us not to use insect repellent, as it actually attracts some bugs in the bush. We then left with our group of 8 to track a designated family of gorillas.
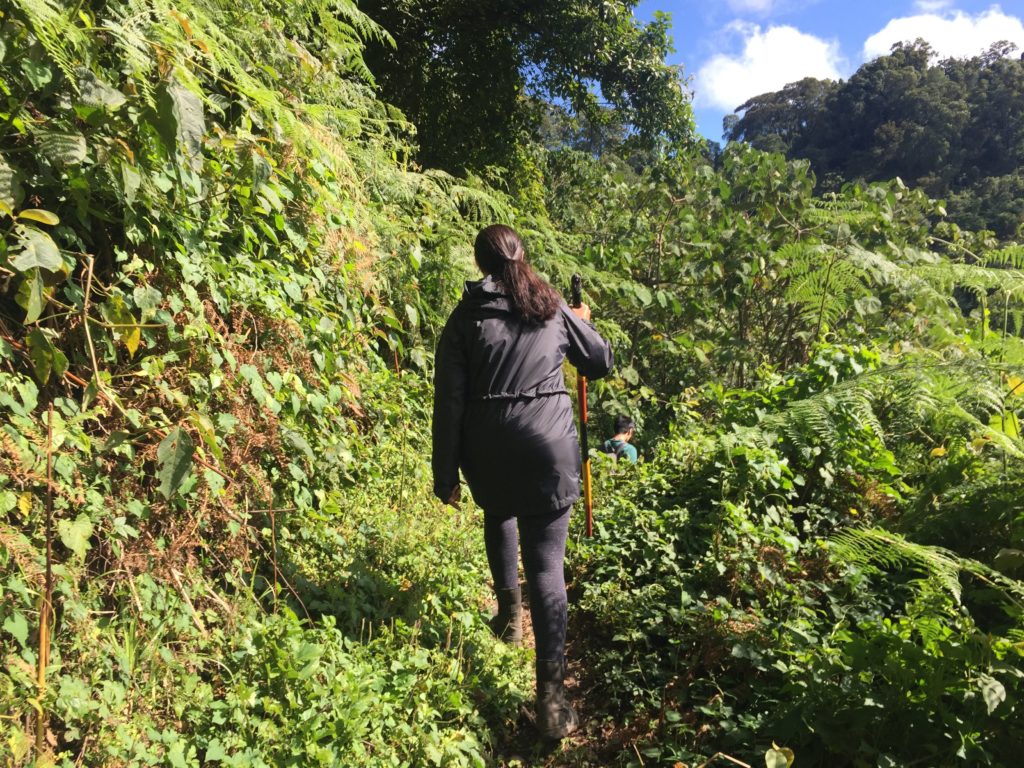

It took our group about two hours to reach the gorillas in the forest.
We were given one hour to observe and take pictures, and then hiked two hours back to the starting point.
The guides presented each participant with a souvenir certificate for completion of the gorilla trek.
Step 12: Take Transport Back to Border
After the trek, our driver drove us back to Kabale. At that point, we negotiated a fair price for him to continue the extra 20-minute journey to the Uganda-Rwanda border.

Step 13: Change Money Again (if needed)
We no longer required our Ugandan Shillings, so we exchanged them with one of the many money changers at the border. Thankfully, we actually negotiated a rate better than the posted exchange rate that day!
Step 14: Cross the Border Again
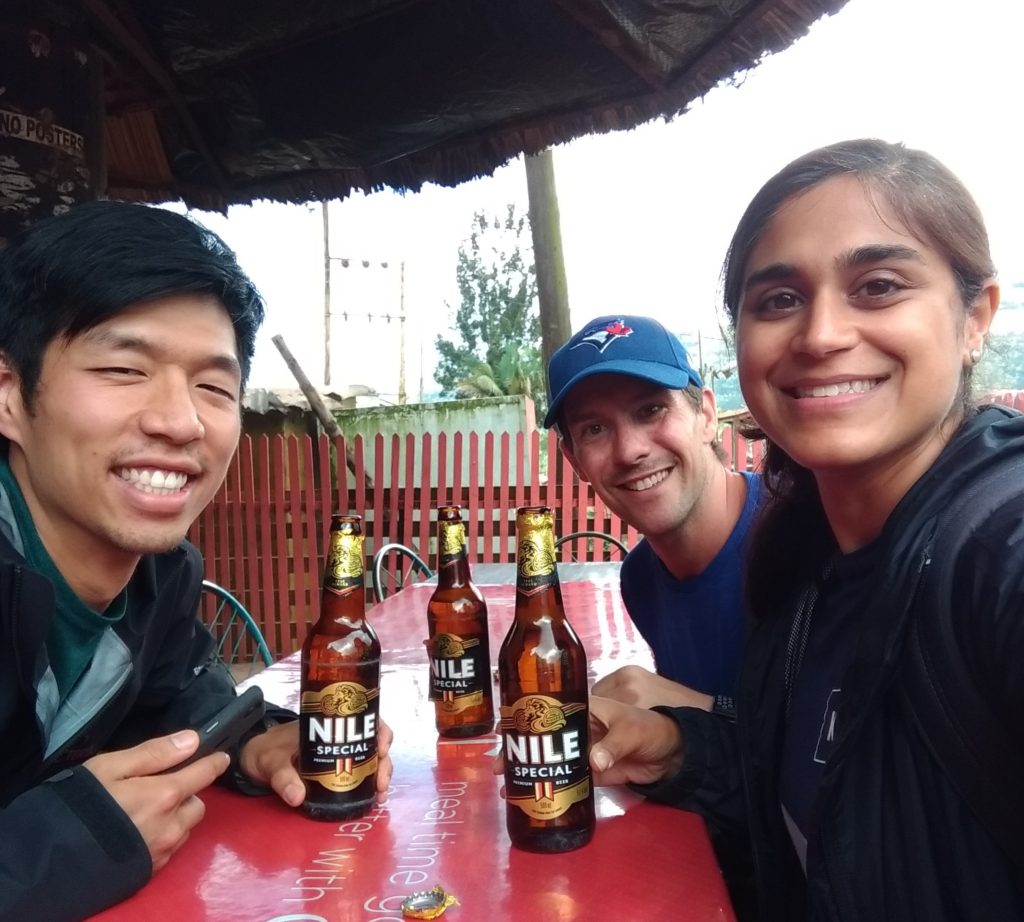
On the way back to Rwanda, we were required to go through the same process to re-enter Rwanda. We completed the exit paperwork and were stamped out of Uganda. The weather looked pretty menacing, so we decided to stop at a restaurant for a drink before entering Rwanda. We thought it was pretty neat to be having a beer in “no-man’s land”, as we were not officially in any country at that time.
Once the weather cleared up, we walked to the Rwandan border, where we had our temperature checked, and got stamped in. Make sure you have the East Africa Tourist Visa, which allows multiple entries (or make sure you have a multiple entry visa to enter Rwanda)! Also, it is required to have a Yellow Fever Certificate to enter Rwanda from Uganda.
Read our blog about how we received our Yellow Fever vaccine for free at the Bogotá El Dorado International Airport!
Step 15: Take Transport Back to Kigali
Instead of taking a private car, we opted for the public bus. It is located about a ten minute walk from the border. There were plenty of helpful locals that pointed us in the right direction.
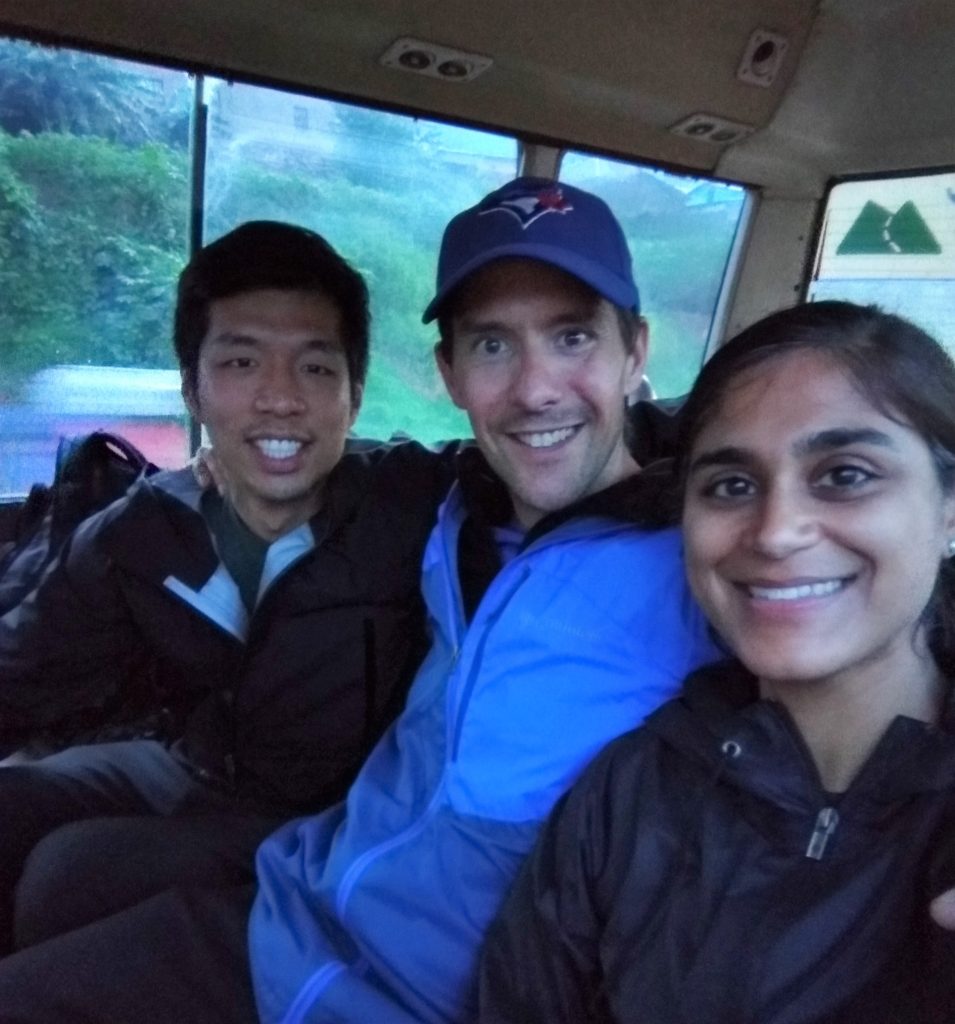
The bus left once the seats were mostly full, and cost us a mere $1200 RWF (each) to travel two hours back to Kigali.
Seeing gorillas in the wild was a uniquely amazing experience that we’ll never forget. If you are on the fence about whether or not to do it, hopefully this step by step guide helped persuade you! I promise that you won’t regret it!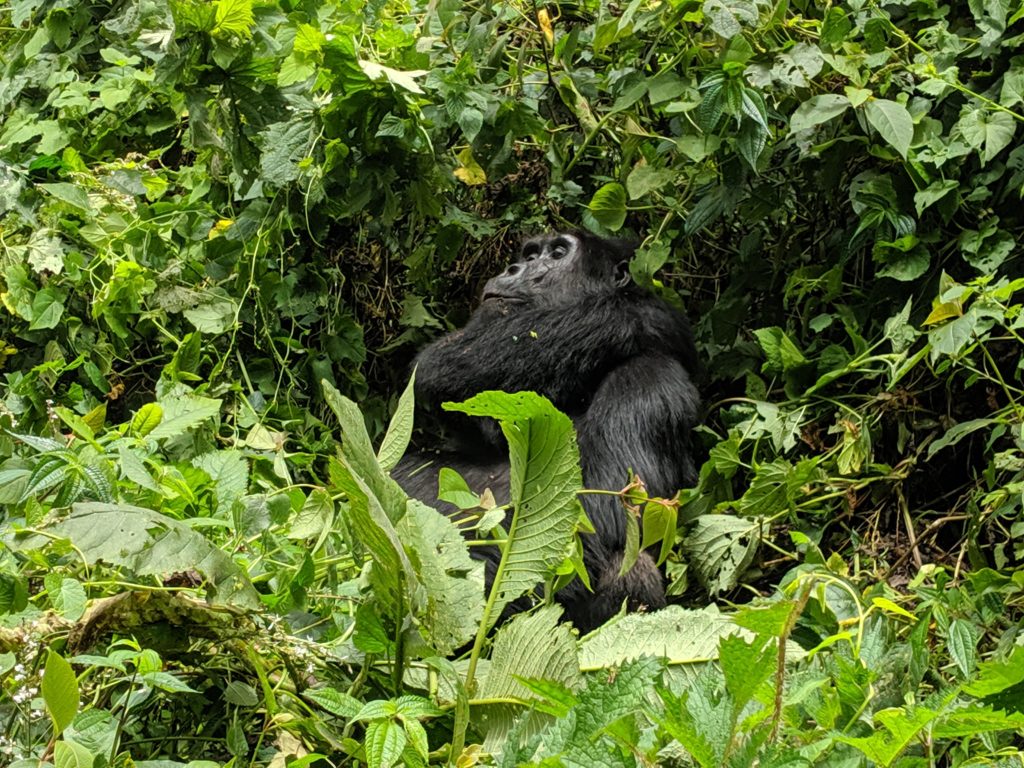
Disclosure: Please note that this site may contain affiliate links to products. We may receive a small commission for purchases made through these links at no extra cost to you.
Be First to Comment